MIG Arc Welding is roughly divided into two categories: MIG Inert Gas (MIG) and MIG Active Gas (MAG). There is a large selection of welders on the market that can perform both types of welding, as well as a variety of solutions for process and control options. However, the design of the welding guns is almost the same, with only some small internal differences based on the different processes.
So what exactly are "welding guns" and "MIG/MAG welding guns"?
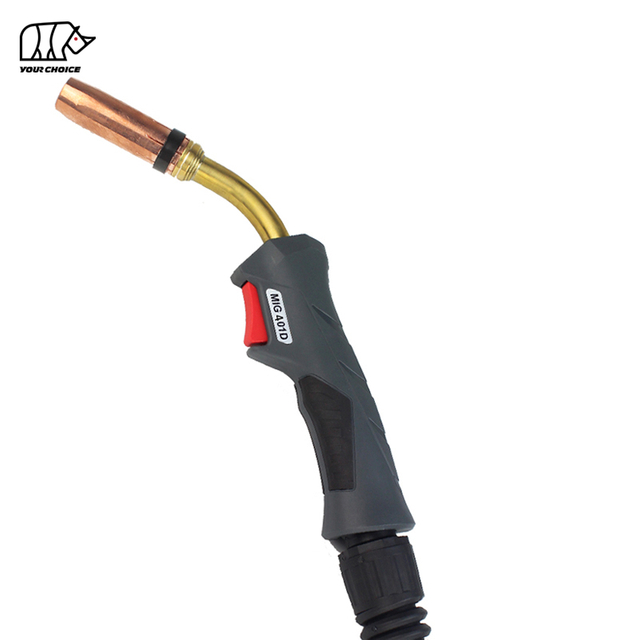
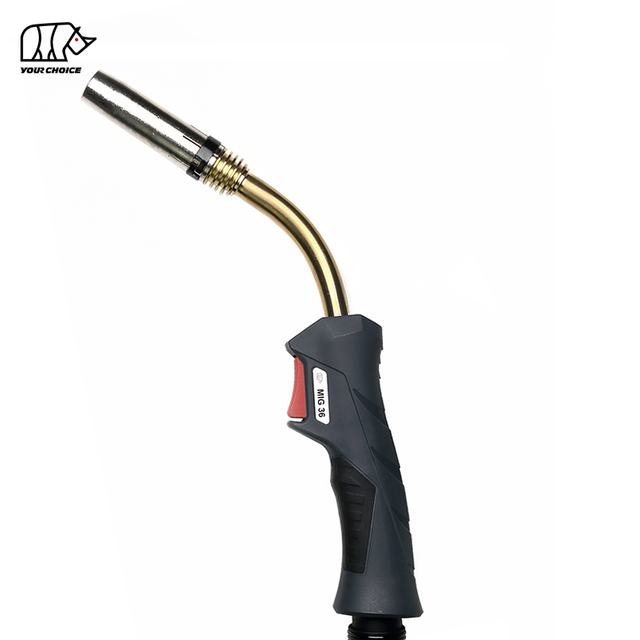
Design of conventional MIG/MAG torches
Simply put, a welding torch is everything from the trunk line to the gas nozzle. Thus, a MIG/MAG welding torch includes connections from the welding torch to the union nut and gas tube, as well as various cables such as line packs, water-cooled torch water inlets and outlets, power cords, gas tubes and internal wires.
The torch assembly also includes a handle with torch trigger and torch neck consumables (such as gas nozzles, contact tips, nozzle fittings and anti-spatter). A standard torch pack can add up to 6 meters in length.
When buying a welding gun, it is very important to know the amount of current. Using a 600 amp welding gun with a power supply that can only output 220 amps is meaningless, and similarly, using a low current welding gun with a high performance welding system is not suitable. Your MIG/MAG torch should always match the maximum power range of your power source.
Air-cooled or Water-cooled
Generally speaking, water cooling is more durable and of course has better handling.
Anyone who has used a water cooling system will tell you how smooth the torch controls are and how easy it is to operate. In addition, the water cooling system can work longer than the air cooling system and provide more power. Air-cooled torches are not suitable for high amperage, while water-cooled torches perform well up to 200 amps.
Control functions of MIG/MAG welding torches
The most basic requirement is whether your welding gun needs a simple switch or a trigger. Even with such a simple option, do you have to decide whether the trigger is on the top or the bottom? Ultimately these choices are all down to the welder's preference - if you like to use your thumb, the trigger is best on top; if you like to use your index finger, the trigger is best good at the bottom.
Maybe you want to increase or decrease the current while welding? With a simple rocker switch on the top of the torch, the welder can adjust the amount of current without stopping the welding or changing the grip position.
If you are using a digital welding power source, your welding torch can have many more sophisticated controls. If you need a torch with some more advanced features, you should choose one with additional controls that connect to all the settings shown on the power supply display. Each individual parameter can be viewed on the small display of the welding gun and selected or adjusted as required. There is also a function to adjust specific parameters of the welding job or "JOB" on the welding machine. Set specific parameters on the power supply, and these preset parameters can be activated on the welding torch.
All the settings you need in your daily work can be operated directly from the MIG/MAG welding gun, without the need for settings on the welding machine. The advantages of these functions are manifested when the welder has a certain distance from the welding machine, or is dragging a long gun cable to weld a workpiece with poor accessibility.
 English
 简体中文
简体中文 العربية
 Français
 Русский
 Español
 Português
 Deutsch
 italiano
 日本語
日本語 한국어
한국어 Nederlands
 Tiếng Việt
 ไทย
ไทย Polski
 Türkçe
 ភាសាខ្មែរ
 Bahasa Melayu
 Filipino
 Bahasa Indonesia
 magyar
 Română
 Čeština
 Монгол
 қазақ
қазақ Српски
 हिन्दी
 فارسی
فارسی Slovenčina
 Slovenščina
 Norsk
Norsk Svenska
 українська
 Ελληνικά
 Suomi
Suomi Latine
 Dansk
Dansk বাংলা
বাংলা Hrvatski
 Afrikaans
 Gaeilge
 Eesti keel
 नेपाली
 Oʻzbekcha
 latviešu
 Azərbaycan dili
 Беларуская мова
 Bosanski
 Български
 ქართული
 Lietuvių