Aluminum TIG (Tungsten Inert Gas) welding is often regarded as the pinnacle of welding craftsmanship. The process demands a unique blend of technical knowledge, precise equipment setup, and well-honed manual dexterity. When executed correctly, it produces welds that are not only incredibly strong and leak-proof but also aesthetically beautiful, with their characteristic shiny, stacked-dime appearance. Unlike welding steel, aluminum presents a set of unique challenges due to its distinct physical and chemical properties. However, by understanding these challenges and mastering the techniques to overcome them, you can unlock the ability to create flawless welds on everything from automotive parts and aerospace components to custom fabrication and artistic sculptures.
This definitive guide will take you through everything you need to know, from the fundamental science behind the process to the advanced techniques used by professionals. Whether you're a beginner looking to get started or an experienced welder seeking to refine your skills, this deep dive into aluminum TIG welding will provide the knowledge you need to succeed.
Why Aluminum is Different: Understanding the Challenges
Before even striking an arc, it's crucial to understand why aluminum behaves differently from steel. This knowledge is the foundation for all the techniques and settings that follow.
The Tenacious Oxide Layer
Aluminum naturally forms a very thin, very hard layer of aluminum oxide (Al₂O₃) when exposed to air. This layer has a melting point of approximately 3,700°F (2,037°C), which is drastically higher than the melting point of the pure aluminum beneath it, which is around 1,220°F (660°C). If this oxide layer is not removed, it will resist the weld puddle, leading to contamination, poor fusion, and a ugly, grainy weld. The key to solving this problem lies in the TIG process itself.
High Thermal Conductivity
Aluminum acts as an excellent heat sink. It draws heat away from the weld zone extremely quickly. This means that much more heat input is required to start and maintain a molten puddle compared to steel. It also means that heat buildup happens across the entire workpiece faster, increasing the risk of warping and distortion if not managed carefully.
No Color Change Before Melting
Steel glows red hot before it melts, providing a clear visual cue. Aluminum does not. It remains silvery and bright right up until the moment it transforms instantly into a molten puddle. This can be disorienting for beginners and requires learning to "read" the surface of the metal as it heats up.
The Craters and Hot Cracking
Aluminum has a high thermal expansion and contraction rate. As the weld puddle solidifies and cools, it shrinks significantly. If the weld is terminated improperly, this shrinkage can leave a crater—a depression at the end of the weld bead. Craters are highly prone to cracking (hot cracking) because they are a point of stress concentration during solidification.
Essential Equipment and Setup for Aluminum TIG
Using the right equipment and configuring it correctly is 80% of the battle in aluminum TIG welding.
The Power Source: AC TIG Welder
While it's possible to weld thin aluminum with DCEN (Direct Current Electrode Negative) and a helium mix, the standard and required method for quality aluminum welding is AC (Alternating Current).
A modern inverter-based AC/DC TIG welder is ideal because it allows for precise adjustment of the AC balance (or AC Waveform Control).
The Critical Controls: Balance and Frequency
AC Balance (%EN vs. %EP): This control adjusts the ratio of time spent in the penetration (EN) phase versus the cleaning (EP) phase.
A higher %EN (e.g., 70-80%) provides more heat and penetration, a narrower cleaning band, and a sharper, more stable arc. However, too much EN can allow the tungsten to overheat and ball excessively.
A higher %EP (e.g., 30-40%) provides a wider cleaning action, which is good for dirty or oxidized material or for dealing with impurities. However, too much EP can cause the tungsten to ball up quickly and can etch the material outside the weld zone excessively.
A good starting point is around 70% EN / 30% EP.
AC Frequency (Hz): This control adjusts how many times per second the current switches between EN and EP.
A lower frequency (e.g., 60-80 Hz) creates a wider, softer arc cone and a broader weld puddle. It is more forgiving for beginners.
A higher frequency (e.g., 120-200 Hz) creates a very focused, tight, and stiff arc cone. This provides better directional control, deeper penetration (arc cone "digs" in), and is excellent for tight corners and detailed work. It also helps concentrate heat, reducing the overall heat-affected zone (HAZ).
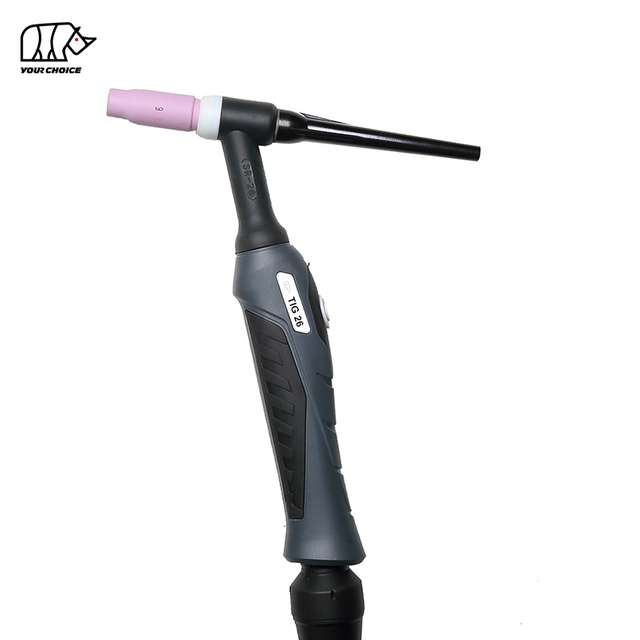
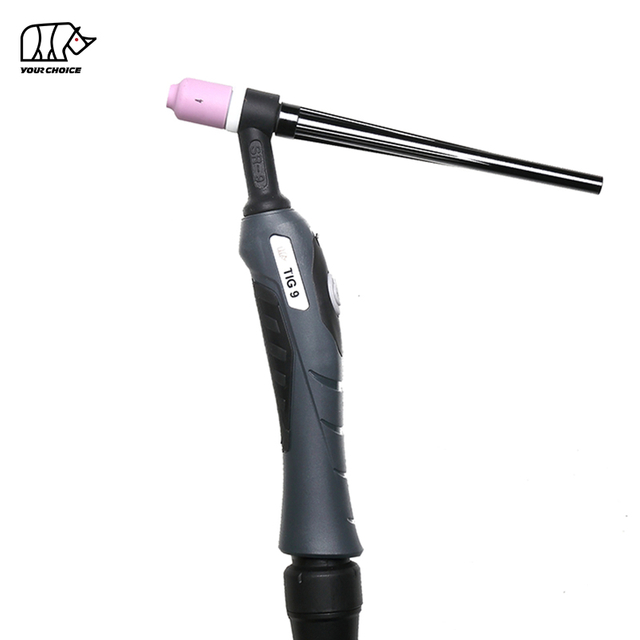
Choosing the Right Tungsten Electrode
The electrode is a critical component. For aluminum AC TIG, Pure Tungsten (green) was the historical standard, but it balls easily and is less stable. Today, Lanthanated (Gold, 1.5% or 2.0%) and Ceriated (Grey) are popular choices as they work well on both AC and DC, start easily, and maintain a stable point for a tighter arc. Zirconiated (White) is also an excellent, long-lasting choice dedicated to AC welding.
The electrode must be sharpened to a point (with a dedicated tungsten grinder) for a stable arc, but it will naturally form a ball at the tip during AC welding. The goal is a clean, stable ball, not a large, drooping one.
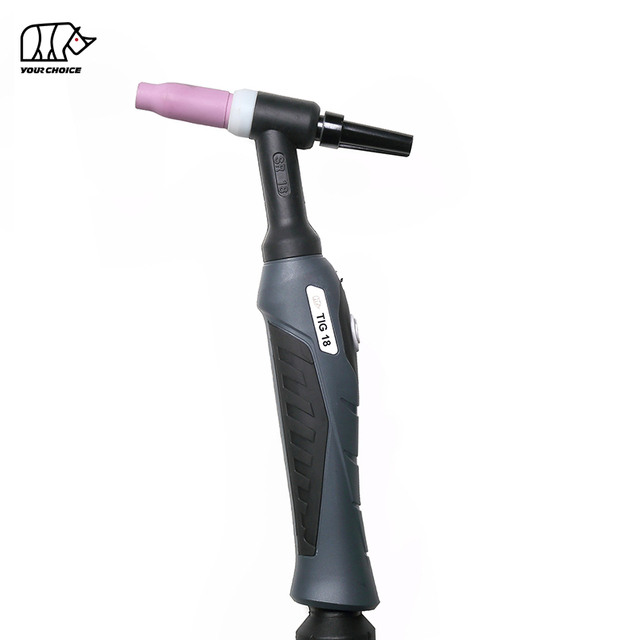
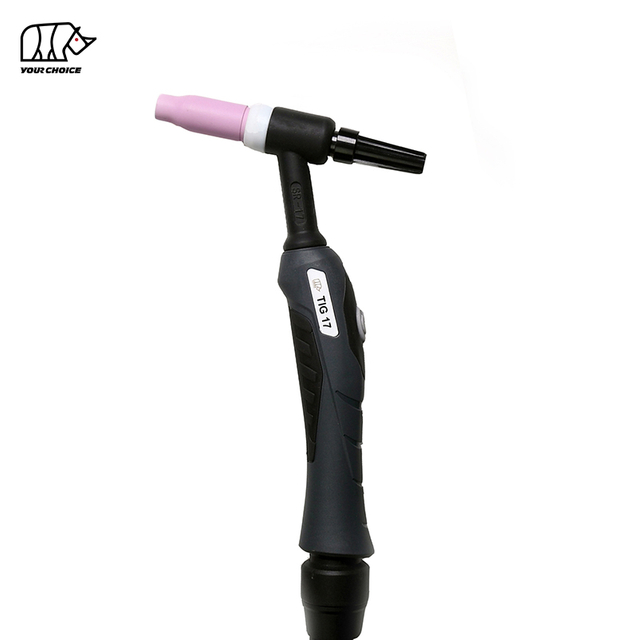
Shielding Gas and Torch Setup
Gas: Use 100% Argon for most aluminum welding up to about ½” thick. For thicker sections, a mixture of Argon/Helium (typically 75% He / 25% Ar) is used. Helium increases the arc's heat input and penetration without changing the electrical settings.
Gas Lens: A gas lens is highly recommended for aluminum welding. It replaces the standard collet body in your torch and uses a fine mesh screen to create a much smoother, more laminar gas flow. This provides superior shielding coverage, allows you to stick the tungsten out farther for better visibility and access to tight joints, and is less susceptible to drafts.
Cup Size: A larger ceramic cup (e.g., #6, #7, or #8) used with a gas lens provides even better shielding gas coverage over the larger weld puddle of aluminum.
Filler Metals
Aluminum filler rods are typically matched to the base alloy you are welding. Common choices include:
4043: A general-purpose alloy with excellent fluidity and good crack resistance. It welds smoothly but produces a grayish weld bead that does not anodize to match the base metal.
5356: The other most common choice. It provides brighter, shinier welds that more closely match the base metal color and are anodizable. It has a higher tensile strength than 4043 but is less fluid and can be more sensitive to hot cracking in certain situations.
Other alloys like 4943, 5183, and 5556 are used for specific applications and higher-strength requirements.
Always consult a filler metal selection chart to choose the correct rod for your specific base metal and application.
The Step-by-Step Welding Technique
With your machine set up correctly, the rest comes down to technique.
Preparation is Paramount
Cleaning: This cannot be overstated. All oxidation, oil, grease, and dirt must be removed.
Mechanical Cleaning: Use a dedicated stainless steel wire brush (used only for aluminum) to scrub the joint area. Alternatively, use a sander or flap disc. Always brush in one direction, not back and forth.
Chemical Cleaning: Wipe the area down with a solvent like acetone or a dedicated degreaser to remove any hydrocarbons. This should be done after mechanical cleaning.
Fit-Up: Ensure parts fit tightly together with minimal gap. Aluminum's high fluidity can lead to melt-through if gaps are too large.
Starting the Arc and Establishing the Puddle
Initiate the Arc: Use a high-frequency start to avoid tungsten contamination.
Create a "Puddle": Hold a tight arc length (about 1/16" to 1/8") and keep the torch steady. You will see the oxide layer disappear and the metal will become shiny. Then, it will suddenly "collapse" into a liquid puddle. This can take a few seconds, especially on thicker material. Be patient.
Add Filler Metal: Once a steady, fluid puddle about 1/4" in diameter is established, dip the tip of your filler rod into the leading edge of the puddle. Keep the rod at a very low angle (almost parallel to the workpiece) and within the gas shield to prevent oxidation before it enters the puddle.
The Motion and Rhythm
The classic technique for aluminum is the "walk the cup" method, though freehand is also common.
Freehand Dabbing: This involves moving the torch steadily forward while rhythmically dabbing the filler rod into the puddle. The motion should be smooth and consistent.
Walk the Cup: The ceramic cup of the torch is rested on the workpiece or filler rod. By rocking the torch from side to side in a steady motion, the welder "walks" the cup along the joint. This provides incredible consistency, control, and cleanliness, especially on pipe and long joints. It is the preferred method for many professionals.
Terminating the Weld and Preventing Craters
Do not simply stop and pull the torch away. This will guarantee a crater crack.
Slow Down: As you approach the end of the weld, slightly increase your travel speed to reduce the size of the puddle.
Add Extra Filler: Just before you finish, add one or two final dips of filler metal to overfill the end of the weld.
Use the Crater Fill Function: Most modern welders have a crater fill setting. When you release the pedal or trigger, the machine will automatically taper down the amperage over a set time (e.g., 5 seconds), allowing the puddle to solidify slowly without shrinking into a crater. Learn to use this function.
Keep Shielding: After adding the final filler, keep the torch in place until the post-flow gas stops to protect the hot, solidifying metal from oxidation.

Advanced Techniques and Troubleshooting
Welding Thin Aluminum (e.g., 16ga - 0.125")
Thin material is prone to warping and melt-through.
Use a smaller tungsten (1/16").
Use lower amperage and a smaller cup (#5 or #6 with gas lens).
Pulse welding is extremely beneficial. Pulsing alternates between a high peak current (to melt the metal) and a low background current (to allow the puddle to cool slightly). This reduces overall heat input, minimizes warping, and gives you more control. A good starting pulse setting is 100 PPS (pulses per second) with a 50% peak/background ratio.
Use a copper or aluminum backing bar behind the joint to help dissipate heat.
Welding Thick Aluminum (e.g., 0.25" and above)
Thick material requires massive heat input.
Pre-heat the workpiece to 300-400°F (150-200°C) with a torch. This is often essential. It reduces the thermal shock to the metal, drives off moisture, and allows you to use less amperage from your machine.
Use a larger tungsten (3/32" or 1/8").
Use a helium/argon mix gas for deeper penetration.
Bevel thick edges to create a "V" groove that allows for full penetration. Multiple passes will be required.
Common Problems and Solutions
Tungsten Contamination (Black Specks in Weld): The electrode touched the puddle or filler rod. Stop, break off the contaminated end, regrind the tungsten, and restart.
Oxidation (Black Sooty Residue): Not enough cleaning action (increase %EP), gas flow too low, drafts, or material wasn't clean enough.
Porosity (Tiny Holes in Weld): Caused by contamination (moisture, oil, grease) or loss of shielding gas. Check your gas lines, flow rate (20-25 CFH), and ensure your work is clean and dry.
Lack of Fusion: Not enough heat input. Increase amperage, slow down travel speed, or use a more focused arc (higher frequency).
Safety First: Protecting Yourself
Always prioritize safety when welding:
Respiratory Protection: Welding fumes can be harmful. Use an approved respirator with P100 filters, especially in poorly ventilated areas. A fume extractor is ideal.
Eye Protection:
Welding Helmet: Use a auto-darkening helmet with a shade #11-13 for TIG welding.
Safety Glasses: Always wear UV-protective safety glasses underneath your helmet to protect your eyes from stray arcs and debris.
Skin Protection: Wear flame-resistant clothing (leather jacket or sleeves, welding gloves) to protect from UV radiation and spatter (though TIG has less spatter than other processes).
Electrical Safety: Inspect your equipment for damaged cables and connections. Keep your work area dry.
Conclusion
Aluminum TIG welding is a challenging yet immensely rewarding skill. It is a true marriage of art and science, requiring an understanding of metallurgy, electricity, and gas dynamics, all translated through the steady hands of the welder. There is no substitute for practice. Start with simple beads on flat plate, then progress to joints, and eventually to complex projects. Focus on the fundamentals: impeccable cleaning, precise machine setup, and developing a steady, rhythmic technique. By respecting the unique nature of aluminum and applying the knowledge in this guide, you will be well on your way to producing clean, strong, and beautiful welds that are a testament to your skill and dedication.
 English
 简体中文
简体中文 العربية
 Français
 Русский
 Español
 Português
 Deutsch
 italiano
 日本語
日本語 한국어
한국어 Nederlands
 Tiếng Việt
 ไทย
ไทย Polski
 Türkçe
 ភាសាខ្មែរ
 Bahasa Melayu
 Filipino
 Bahasa Indonesia
 magyar
 Română
 Čeština
 Монгол
 қазақ
қазақ Српски
 हिन्दी
 فارسی
فارسی Slovenčina
 Slovenščina
 Norsk
Norsk Svenska
 українська
 Ελληνικά
 Suomi
Suomi Latine
 Dansk
Dansk বাংলা
বাংলা Hrvatski
 Afrikaans
 Gaeilge
 Eesti keel
 नेपाली
 Oʻzbekcha
 latviešu
 Azərbaycan dili
 Беларуская мова
 Bosanski
 Български
 ქართული
 Lietuvių