Why Your TIG Torch Consumables Are Failing Early
Few frustrations match the moment you strike an arc only to watch the tungsten sputter, the shielding gas waver, or the arc dance erratically across the cup. You inspect the front-end of your torch and once again find cracked ceramics, a discolored gas lens, or a deformed collet. TIG torch consumables are not meant to be permanent, but premature failure signals deeper problems that drain your budget, sabotage weld quality, and steal hours of productive time. The good news is that most early failures are entirely preventable. They are rarely a sign of defective parts; rather, they point to a handful of correctable errors in setup, usage, and maintenance. In this comprehensive guide, we will uncover exactly why your TIG consumables are failing early and give you a clear, no-nonsense path to extending their service life.

Understanding the Critical Role of TIG Torch Consumables
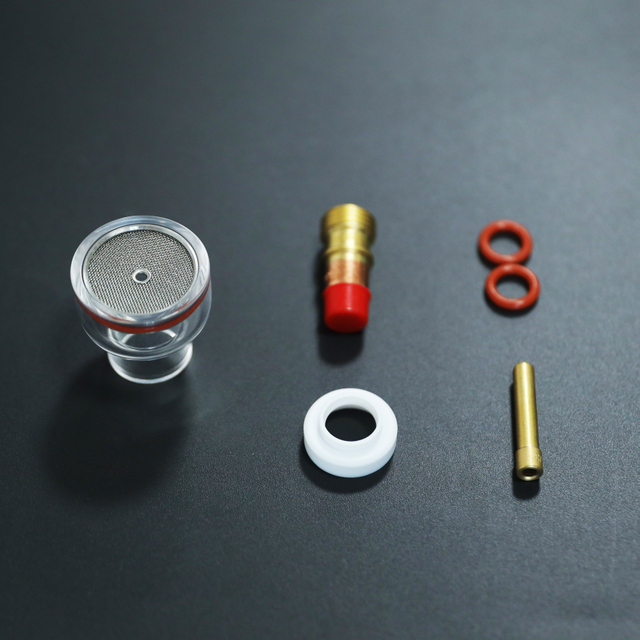
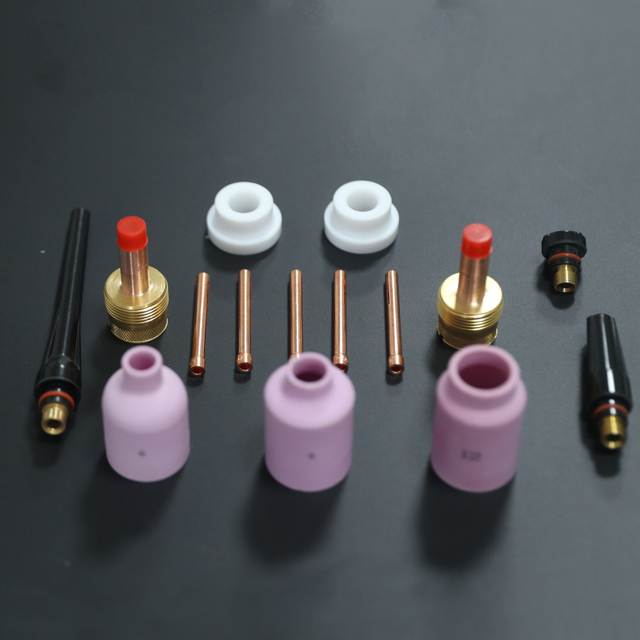
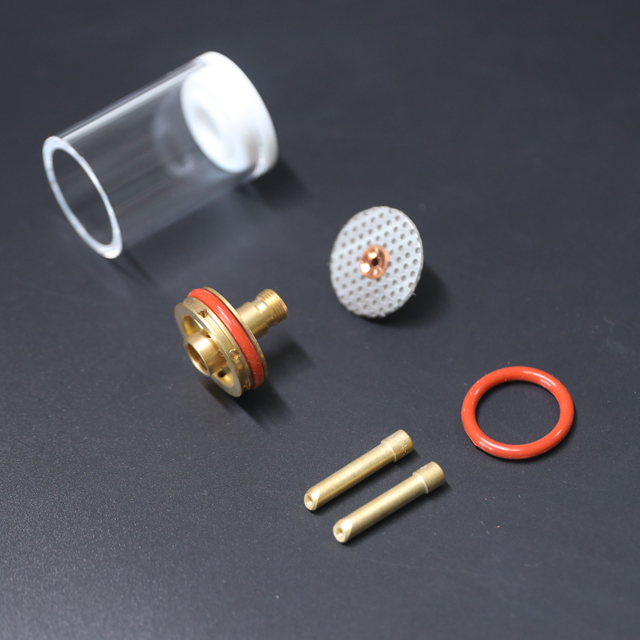
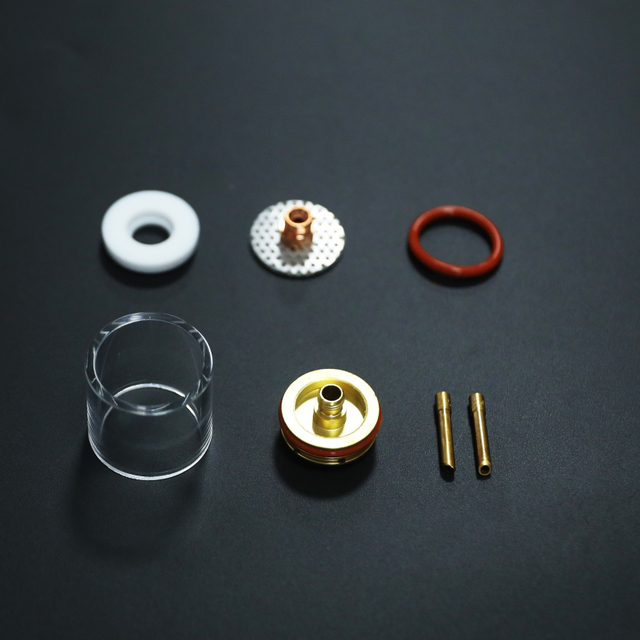
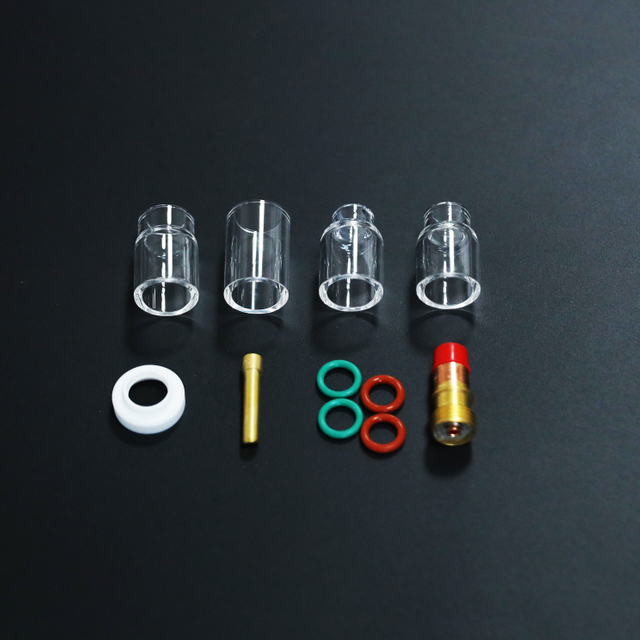
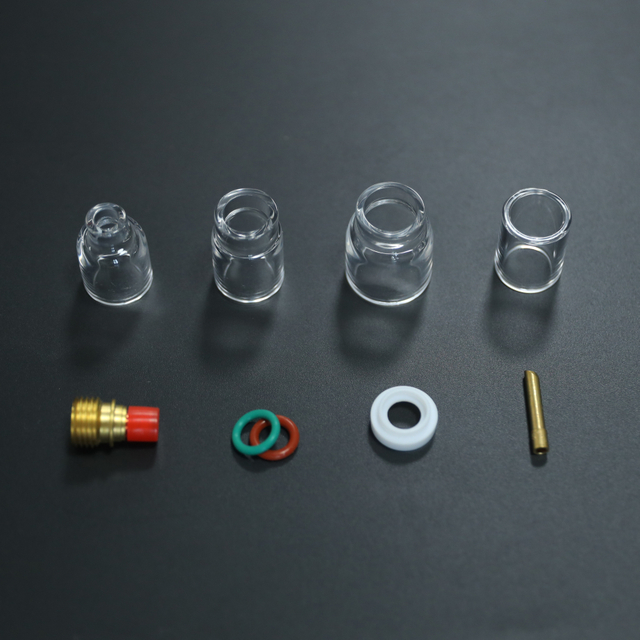
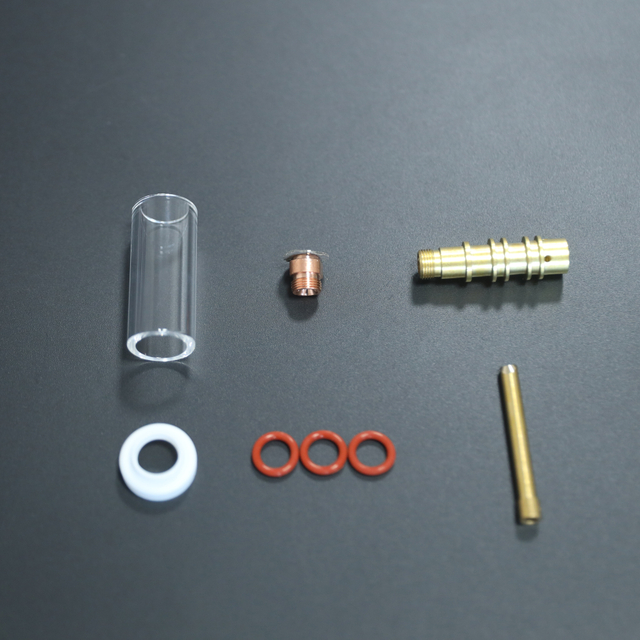
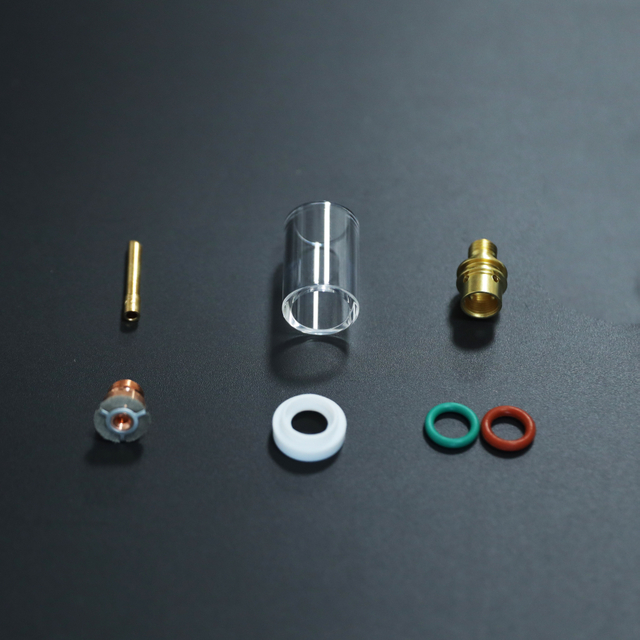
Before diagnosing failures, it pays to remind ourselves what each front-end component does. A TIG torch consumable set typically includes the tungsten electrode, collet, collet body or gas lens, insulating cup, and back cap. These parts collectively control current transfer, electrode position, gas coverage, and electrical insulation. When any one of them degrades, the entire torch system suffers. The collet grips the tungsten and conducts welding current. A poorly fit collet creates resistance heating and arc instability. The gas lens or standard collet body shapes the shielding gas column that protects the molten weld pool from atmospheric contamination. The ceramic or heat-resistant cup insulates the electrified internals and further directs gas flow. The electrode itself must emit a steady, focused arc. Early failure means one or more of these functions is being compromised long before the expected wear interval. Rather than simply accepting short consumable life as a cost of doing business, a systematic review of your process will almost always reveal the culprit.
Heat Management: Why Overheating Destroys Your Front-End Parts
Heat is the most relentless adversary of TIG consumables. While the welding arc itself generates extreme temperatures, it is the way that heat is managed—or mismanaged—that decides whether a cup lasts weeks or minutes. The majority of torch front-end failures trace back to excessive heat buildup that melts insulators, oxidizes collets, and cracks ceramic components.
Current Overload and Amperage Mismatch
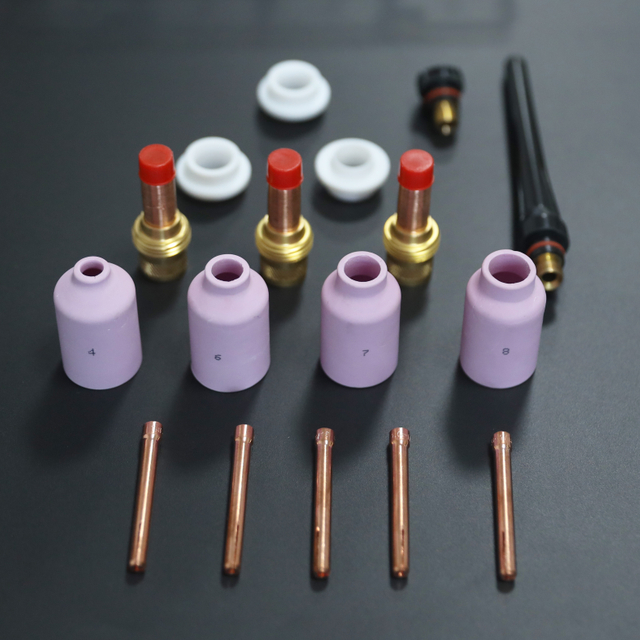
Every consumable has a practical amperage ceiling, whether explicitly stated by the manufacturer or dictated by the cross-section of the collet body and cup size. Running 200 amps through a small-diameter gas lens designed for 150 amps will rapidly discolor the metal screen, anneal the collet, and may even melt the edges of a ceramic cup. A common mistake is selecting a small cup for better visibility or access, then pushing the pedal past what the assembly can handle. The collet body begins to oxidize heavily, forming a dark scale that increases electrical resistance. That resistance produces even more localized heat, accelerating the degradation. The solution is rigid amperage discipline. Match your torch size, collet body diameter, and cup orifice to the maximum amperage you actually use during a weld. A number 8 cup and the corresponding gas lens can handle significantly more current than a number 5, simply because there is more mass to dissipate heat and a larger gas envelope to provide cooling.
Cooling Shortfalls in Air-Cooled and Water-Cooled Systems
Even if you stay within amperage limits, inadequate cooling will cook your consumables. With an air-cooled torch, the entire power cable and torch body rely on ambient air and gas flow to shed heat. Pushing an air-cooled torch to its upper duty cycle limit without adequate resting periods allows heat to soak into the head assembly. The thin metal screens inside a gas lens warp, plating can peel, and the collet loses its spring temper. In water-cooled torches, the water circuit must flow unimpeded. A kinked return hose, a clogged cooler filter, or low coolant level starves the torch head of cooling. The resulting overtemperature condition first manifests as rapid discoloration of the collet body and can proceed to melting the gas lens housing. Regularly verify that return coolant flows vigorously and that the cooler is sized appropriately for the maximum sustained amperage. A simple hand-check on the torch handle after a long weld tells the story—if the handle is too hot to hold comfortably, your consumables are cooking as well.

Gas Flow Dynamics: Shielding Imperfections That Accelerate Wear
Shielding gas does more than protect the weld pool; it cools the tungsten and the cup. When gas coverage degrades, consumables fail from both oxidation and thermal stress. Many welders treat flow rate as a set-and-forget parameter, but improper flow, turbulence, and leaks are leading accelerators of early failure.
Turbulent Flow vs. Laminar Flow
A perfectly functioning gas lens delivers a smooth, laminar column of shielding gas that envelops the electrode tip and the pool. However, if flow rate is set too high, turbulence sets in. Turbulent gas draws surrounding air into the shielding envelope and creates erratic cooling on the electrode and cup. The cup can crack from uneven thermal gradients, and the tungsten oxidizes rapidly. A good gas lens is designed to straighten and smooth the gas, but it cannot compensate for excessive velocity. Find the minimum flow rate that provides adequate protection and avoid the temptation to crank up the flow “just to be safe.” A typical mistake is upgrading to a gas lens but keeping the flow rate from the old standard collet body setup; the more efficient gas lens often needs less flow, not more.
Leak Detection and O-Ring Maintenance
A tiny leak before the gas reaches the cup aspirates atmosphere into the shielding stream. The most common leak points are the torch head O-rings, the back cap O-ring, and the gas hose connections. A worn or pinched O-ring on the back cap allows air to enter right where gas exits around the collet body. The result is a contaminated gas plume that causes excessive tungsten erosion and a black, sooty deposit inside the cup. This contamination attacks the cup material itself; a ceramic cup will develop hairline fractures, and a heat-resistant transparent cup will craze. Make it a habit to inspect O-rings for flat spots and nicks every time you change tungsten. Replace them at the first sign of wear—they are among the least expensive preventives. A further, often overlooked source is the gas connection at the machine or flowmeter. A hissing quick-connect can drop dynamic pressure at the cup, leading to inadequate coverage and overheating.

Assembly Errors: The Mechanical Abuse You Do Not See
It takes surprisingly little force to ruin a collet, crack a cup, or destroy the fine mesh of a gas lens. The urgency at the welding bench frequently leads to over-tightening, cross-threading, and mishandling that materially shortens consumable life.
The Perils of Over-Tightening
Threading a back cap down with a pliers or an overly enthusiastic hand crushes the collet against the electrode and forces the collet body deeper into its taper. A split collet works by wedging itself between the collet body taper and the tungsten. Excessive torque permanently deforms the split fingers, so they no longer spring back when the back cap is loosened. A deformed collet then slips on the electrode, producing arc wander and requiring even more tightening—a vicious cycle that ends with a ruined collet and a scored electrode. The back cap only needs to be snug enough to prevent gas leakage and hold the tungsten without slipping. Finger-tight plus an eighth of a turn is generally sufficient. If you find yourself tightening until the back cap stops completely, you are likely already damaging parts.
Misaligned Threads and Cross-Threading
Ceramic cups thread onto a metal collet body or gas lens housing, and these fine threads are easily crossed. A cross-threaded cup may feel tight long before it seats properly, leaving the cup crooked and the electrode off-center. The uneven gap distorts the gas pattern, causing one side of the cup to overheat and crack. Moreover, forcing a cross-threaded cup can chip the ceramic at the thread root, and those chips often end up falling into the weld zone or lodging in the collet body threads. Always start threading by rotating the cup counter-clockwise until you feel the thread start drop into place, then tighten clockwise with minimal pressure. If you encounter resistance after less than a full turn, stop, back off, and realign. The same caution applies to the back cap and the torch head connection.
Contamination: The Enemy of Tungsten and Cups
Few conditions destroy a TIG setup faster than contamination introduced through base metal, filler rod, or poor grinding practices. Not only does it ruin the electrode tip, but the spatter and vaporized contaminants attack the cup, gas lens, and collet.
Dirty Material and Filler Rod
Welding on mill scale, rust, oil, paint, or silicone coatings introduces volatile contaminants directly into the arc envelope. These substances explode into micro-spatter that adheres to the inside of the cup and the gas lens screen. The spatter gradually restricts gas flow, unbalances the shielding column, and creates hot spots on the cup walls. A cup internally coated with spatter is far more likely to crack from thermal shock because the spatter concentrates heat unevenly. Always clean the base metal to bright, shiny condition before striking an arc. Wipe filler rods with acetone and a lint-free cloth. The extra preparation time is vastly cheaper than replacing a gas lens and cup after every project.
Grinding Wheel Cross-Contamination
The tungsten electrode grinder is ground zero for contamination transfer. Using a grinding wheel previously used on steel or other metals embeds those particles into the tungsten surface. When the arc ignites, those foreign elements vaporize and deposit onto the gas lens screen and cup interior. A dedicated diamond or borazon wheel—kept solely for tungsten—is non-negotiable. Even with a dedicated wheel, always grind the tungsten lengthwise, not radially, to keep grind marks aligned with the electrode axis. Cross-grinding creates surface irregularities that disturb arc focus and shed tiny tungsten particles that lodge inside the collet body. Clean the electrode with a solvent wipe after grinding to remove grinding dust before inserting it into the torch.

Component Compatibility: Mixing Parts Is a Recipe for Failure
The TIG torch consumable ecosystem is deceptively precise. Mixing parts from different series, sizes, or design generations creates gaps, misalignments, and electrical resistance spots that generate heat and arc instability. Interchangeability should never be assumed.
Collet, Collet Body, and Tungsten Mismatch
A 1.6mm collet must be paired with a 1.6mm tungsten and a collet body matching that same diameter. Placing a 2.4mm tungsten in a 1.6mm collet will split the collet fingers permanently. Forcing a 1.6mm tungsten into a 2.4mm collet leaves the electrode loose and arcing inside the collet body bore, rapidly eroding both the collet body inner wall and the electrode. Even if everything fits, using a standard collet body with a tungsten size at the extreme limit of the body’s range can lead to insufficient gripping surface. A wedge-style collet may offer broader grip range but still must be matched correctly. Always double-check that the tungsten diameter, collet size, and collet body model are a matched set. This simple alignment eliminates a large percentage of premature collet and electrode failures.
Cup Orifice and Gas Lens Series Confusion
Not all gas lenses are created equal. Some are designed for standard cups, others for larger-diameter high-visibility cups or stubby configurations. A standard cup threaded onto an extended gas lens housing may bottom out before reaching the insulator, leaving a gas leak path at the threads. Conversely, a stubby gas lens intended for a compact cup will not seat correctly with a full-size alumina cup, often leaving the electrode too recessed or protruding. The gas ports inside the gas lens housing are sized for a specific cup orifice range. A large-bore cup on a lens designed for small cups may generate insufficient back pressure, destabilizing the shielding column at low flow rates. Stay within the recommended cup range for your gas lens design—typically published in torch documentation. If you mix and match radically different styles, you introduce variables that directly translate to overheating and cracking.
Environmental Factors and Storage Habits
How you store your TIG consumables when the welder is off can be just as important as how you use them. Humidity, dust, and careless storage practices degrade components long before the torch is ever fired.
Humidity accelerates oxidation on collet bodies, gas lens screens, and even tungsten surfaces. A collet body stored in a damp environment develops a resistive oxide layer that increases electrical resistance the moment current flows. This drives localized heating and reduces the clamping force of the collet. Tungsten stored unprotected in a humid shop can absorb moisture into microscopic surface cracks, leading to steam explosions at arc initiation that pit the electrode and spatter the cup. Store all consumables in sealed plastic containers with desiccant packs. Avoid leaving open packages on a welding bench overnight where condensation can settle. Additionally, fine dust from grinding or workshop activities settles on gas lens screens and inside cups. A quick blast of clean, dry compressed air before assembly can blow out particulates that would otherwise combust the instant the arc strikes. Simple cleanliness, consistently practiced, adds hundreds of arc hours to your consumable inventory.

A Field Guide to Maximizing Consumable Life
Knowing the causes is half the battle; the other half is implementing a repeatable routine that keeps your torch in peak condition. Here is a practical checklist and set of habits that directly address the failure modes discussed above.
Daily Setup Protocol
Inspect the back cap O-ring for cracks or flatness; replace if any doubt exists.
Verify the gas lens screen is free from spatter and that all gas ports are clear.
Gently test-fit the collet into the collet body to confirm full insertion without force.
Check that the tungsten diameter exactly matches the collet and collet body specification.
Seat the cup by hand, ensuring no cross-threading, then back off a quarter turn and retighten until just snug.
Set gas flow rate according to cup size and gas lens type—start at 12-15 cubic feet per hour for a number 8 cup and adjust for a steady hiss without turbulence.
Preventive Replacement Triggers
Even with perfect practice, consumables have a finite lifespan. Learn to recognize the warning signs that a part needs replacement before it fails catastrophically. Replace the tungsten when the tip becomes heavily pitted, rainbow-discolored, or when grinding back to fresh material removes more than half the electrode taper. Change the collet when the split fingers no longer spring back to their relaxed position or when you see visible erosion on the inner gripping surface. Swap out a gas lens when the mesh screen shows signs of melting, tearing, or significant dark oxidative scaling that cannot be removed with a soft brush. Replace ceramic cups the moment a hairline crack appears, even if the cup still holds together; that crack will rapidly propagate under thermal cycling and can drop pieces into the weldment. Rotate multiple torch setups so that you never feel forced to push a failing part through “just one more weld.”
Invest in the Right Torque and Tools
Soft-jaw pliers, properly sized collet wrenches, and a dedicated tungsten grinder all protect your investment. Using standard slip-joint pliers on a back cap will mar the surface and deform the cap, leading to gas leaks and poor thread engagement. A collet block that holds the collet body securely while you tighten the power lug prevents the internal components from twisting against each other. Each tool represents a small upfront cost that prevents multiple premature replacements. Consider keeping a simple log for a few weeks, noting every consumable change and the hours on that set. Patterns will emerge: a recurring failure at the same cup location might indicate a cross-threading habit; frequent gas lens discoloration points to cooling insufficiency. Data removes guesswork.
Premature TIG torch consumable failure is rarely a sign of bad parts. It is a signal. Your torch is telling you that something in the setup, the operating parameters, or the handling is wrong. By addressing overheat conditions, fine-tuning your gas flow, assembling components with care, eliminating contamination at every source, and respecting compatibility, you can consistently double or triple the life of your consumables. The result is lower operational cost, far less downtime, and—most importantly—cleaner, more consistent welds. The next time you pick up the TIG torch, apply these principles and watch how the little front-end parts that once failed too soon start performing like the precision instruments they were designed to be.
 English
 简体中文
简体中文 العربية
 Français
 Русский
 Español
 Português
 Deutsch
 italiano
 日本語
日本語 한국어
한국어 Nederlands
 Tiếng Việt
 ไทย
ไทย Polski
 Türkçe
 ភាសាខ្មែរ
 Bahasa Melayu
 Filipino
 Bahasa Indonesia
 magyar
 Română
 Čeština
 Монгол
 қазақ
қазақ Српски
 हिन्दी
 فارسی
فارسی Slovenčina
 Slovenščina
 Norsk
Norsk Svenska
 українська
 Ελληνικά
 Suomi
Suomi Latine
 Dansk
Dansk বাংলা
বাংলা Hrvatski
 Afrikaans
 Gaeilge
 Eesti keel
 नेपाली
 Oʻzbekcha
 latviešu
 Azərbaycan dili
 Беларуская мова
 Bosanski
 Български
 ქართული
 Lietuvių