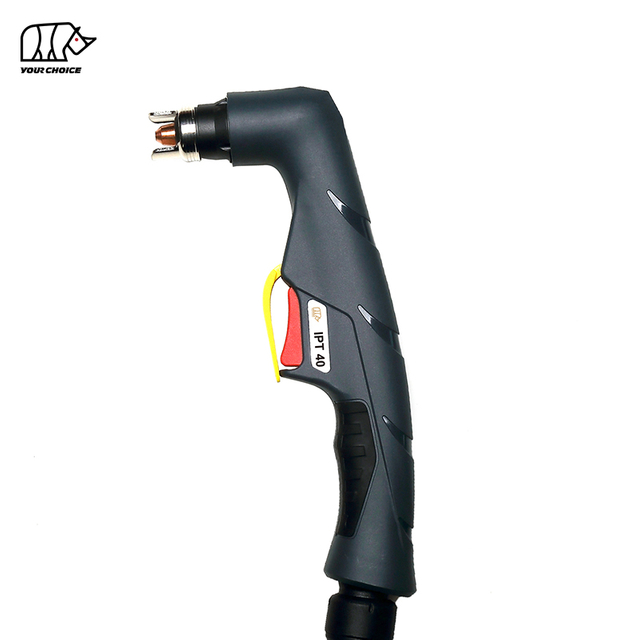
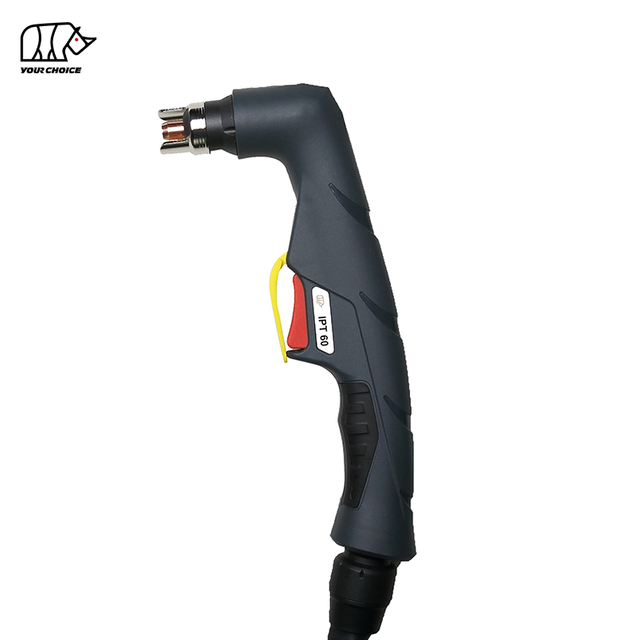
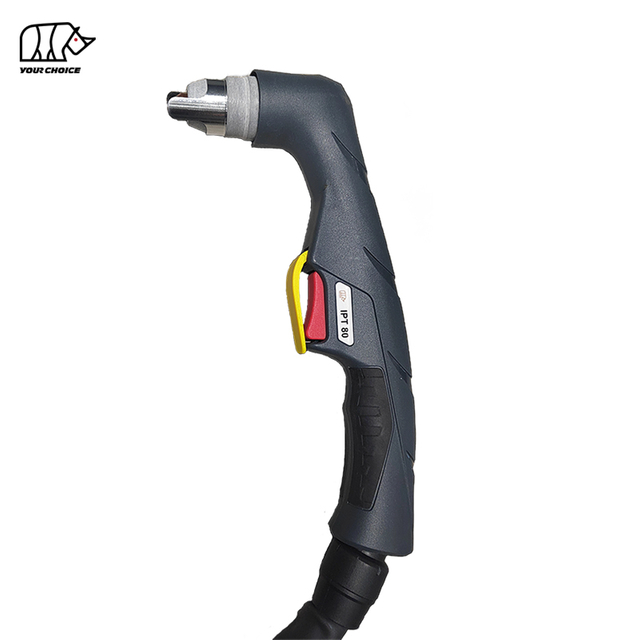
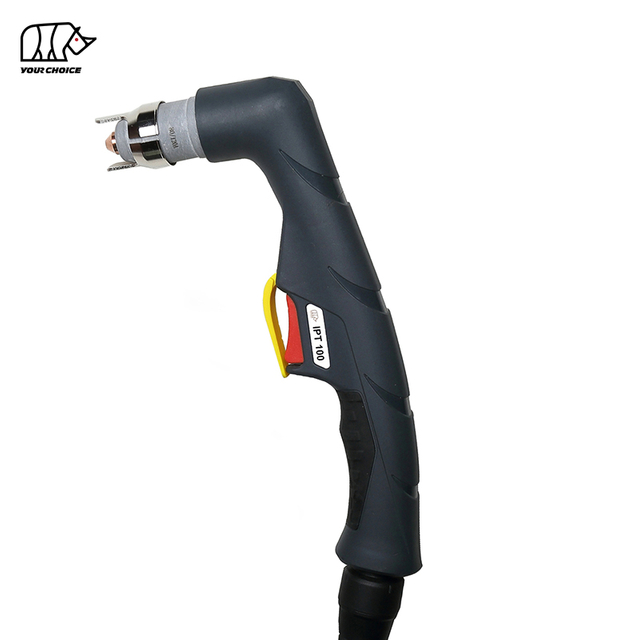
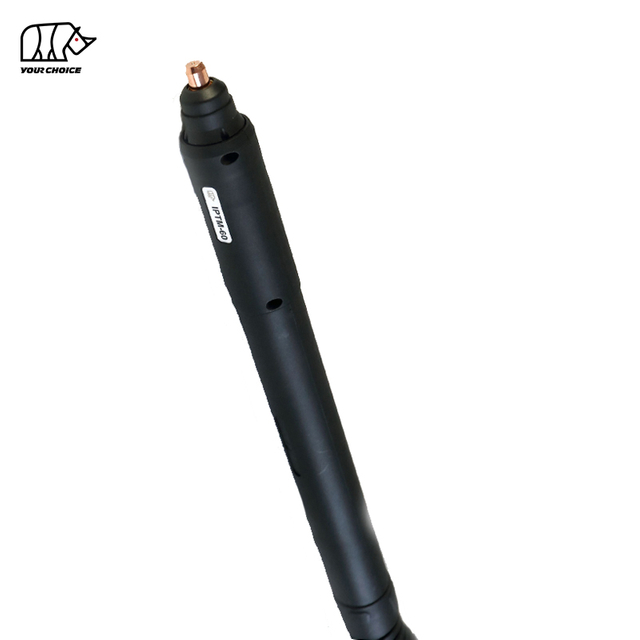
Poor plasma cutting quality can turn a simple metal fabrication job into a costly process involving additional grinding, wasted materials, and repeated cutting. Whether your plasma cutter is leaving excessive dross, producing beveled edges, creating rough cuts, or failing to cut completely through the metal, identifying the underlying cause is essential.
Why is your plasma cutter making bad cuts? Poor plasma cut quality is usually caused by incorrect cutting speed, improper torch height, worn consumables, unstable air pressure, unsuitable amperage, poor electrical connections, or incorrect cutting settings.
The good news is that many plasma cutting problems can be corrected without replacing the entire torch or power source.
In this guide, we explain the most common plasma cutting defects, how to identify their causes, and the practical adjustments that can help improve cutting accuracy, edge quality, and consumable life.
Whether you use a handheld plasma cutting torch or a CNC plasma cutting system, understanding these factors can help reduce downtime and improve cutting consistency.
What Causes Poor Plasma Cut Quality?
Poor plasma cut quality occurs when the plasma arc does not remove molten metal cleanly and consistently along the intended cutting path.
A properly configured plasma cutting system should produce a relatively consistent kerf, controlled edge angularity, adequate penetration, and minimal removable dross for the selected material and process.
However, plasma cutting performance depends on several interacting variables.
These include:
Cutting speed
Torch-to-workpiece distance
Cutting current
Plasma gas pressure, flow, and quality
Electrode and nozzle condition
Torch alignment
Workpiece thickness and surface condition
Electrical return connection
Machine motion and height control
Changing one parameter can affect several aspects of cut quality.
For example, excessive torch height may increase bevel and kerf width, while an incorrect cutting speed can produce either heavy bottom dross or a hard bead of uncut material.
The most effective troubleshooting method is to identify the visible defect first, check the consumables and operating conditions, and then adjust one parameter at a time.
How Can You Identify Common Plasma Cutting Problems?
Different cutting defects provide useful clues about the condition of the torch and the cutting process.
The following table summarizes common symptoms and their possible causes.
Cutting Problem
Common Causes
Recommended First Check
Excessive bottom dross
Incorrect cutting speed, torch height, amperage or consumable wear
Identify whether the dross is thick and bubbly or small and hard
Beveled or angled cuts
Incorrect torch height, tilted torch, worn nozzle or cutting direction
Check torch alignment and actual cutting height
Rough or jagged edges
Unstable arc, damaged consumables, poor air quality or irregular motion
Inspect the nozzle, electrode and air supply
Incomplete penetration
Excessive cutting speed, insufficient current, excessive thickness or torch height
Check material thickness against the cut chart
Wide or inconsistent kerf
Worn nozzle, incorrect height, speed or current
Inspect the nozzle opening and torch position
Excessive top spatter
Incorrect speed or height, damaged consumables or unstable gas flow
Check the nozzle and cutting parameters
Irregular holes or corners
Incorrect lead-in, speed, height control or machine motion
Check CNC settings and hole-cutting procedures
Warped thin metal
Excessive heat input or poor workpiece support
Review current, speed, cutting sequence and fixturing
Cut quality deteriorates over time
Consumable wear, air supply problems or thermal limitations
Compare initial and later cuts under the same settings
These symptoms are diagnostic clues rather than definitive proof of a single fault.
Several problems can produce similar cutting defects, so a systematic inspection is important.
8 Common Causes of Bad Plasma Cuts and How to Fix Them
1. Worn or Damaged Plasma Torch Consumables
Plasma torch consumables have a direct effect on arc stability, cutting accuracy, and edge quality.
Common consumable components include the electrode, cutting nozzle, swirl ring, retaining cap, and shield, depending on the torch design.
During operation, these parts are exposed to high temperatures and electrical stress.
As consumables wear, the geometry of the arc and the gas flow characteristics can change.
How Do Worn Consumables Affect Cut Quality?
A worn nozzle may develop an enlarged or irregular orifice.
This can distort the plasma arc, causing uneven kerf width, excessive bevel, and rough cutting edges.
An electrode with excessive erosion may contribute to unstable arc behavior and inconsistent cutting performance.
A cracked or contaminated swirl ring may interfere with the intended gas flow pattern.
Signs That Plasma Consumables Need Replacement
Component
Signs of Wear
Possible Cutting Problem
Electrode
Excessive erosion or damaged insert
Unstable arc and reduced cutting consistency
Nozzle
Enlarged, oval or damaged orifice
Wide kerf, bevel and rough edges
Swirl ring
Cracks, blocked passages or contamination
Irregular gas flow and unstable arc
Retaining cap
Cracks, damaged threads or poor seating
Incorrect assembly and operating problems
Shield
Damage, spatter buildup or blocked openings
Poor gas flow and cutting performance
How to Fix It
Switch off and disconnect the plasma cutter before removing torch components. Follow the manufacturer's cooling and pressure-release procedures.
Inspect the electrode and nozzle carefully.
Replace components that show excessive wear or physical damage.
Confirm that all replacement consumables are compatible with the torch model and intended cutting current.
Reassemble the torch in the correct sequence.
Avoid mixing consumables that are not designed to work together.
Practical Tip: If cut quality gradually deteriorates while cutting settings remain unchanged, inspect consumables before making major changes to speed or amperage.
2. Incorrect Plasma Cutting Speed
Cutting speed is one of the most important variables affecting plasma cut quality.
Moving the torch too quickly or too slowly changes how the arc melts and removes metal.
Both conditions can create excessive dross and poor edge quality.
What Happens When Plasma Cutting Speed Is Too Slow?
When the torch moves too slowly, excessive heat is delivered to the cutting area.
The kerf may become wider, the upper edge may become rounded, and molten metal may accumulate beneath the workpiece.
This often produces low-speed dross.
Low-speed dross typically appears as a thick, rounded or bubbly deposit along the bottom edge.
It is often easier to remove than high-speed dross.
Solution: Increase cutting speed gradually while keeping other settings unchanged.
Use short test cuts to determine whether the amount of dross decreases.
What Happens When Plasma Cutting Speed Is Too Fast?
When cutting speed is excessive, the plasma arc may lag behind the torch.
The arc may not have sufficient time to remove material completely from the kerf.
This can produce a small, hard bead along the bottom edge, excessive bevel, or incomplete penetration.
High-speed dross is often more difficult to remove.
Solution: Reduce cutting speed gradually and compare the resulting edge quality.
If the problem remains, inspect the nozzle, torch height, current setting, and air supply.
High-Speed Dross vs. Low-Speed Dross
Feature
High-Speed Dross
Low-Speed Dross
Typical appearance
Small, narrow, hard bead
Thick, rounded or bubbly deposits
Location
Bottom edge
Bottom edge
Removal
Often difficult
Often relatively easy
Main speed-related cause
Torch moves too fast
Torch moves too slowly
First speed adjustment
Reduce cutting speed
Increase cutting speed
The correct cutting speed depends on the material, thickness, amperage, consumables, and gas process.
Always begin with the cutting parameters recommended for the equipment.
3. Incorrect Torch Height or Cutting Angle
Torch height refers to the distance between the torch and the workpiece during cutting.
This distance affects arc shape, energy distribution, kerf width, and edge angularity.
If the torch is positioned too high or too low, the cutting arc may not interact with the material as intended.
What Happens When the Plasma Torch Is Too High?
Excessive torch height can cause the arc to spread or lag, depending on the cutting conditions.
Possible results include:
Excessive bevel
Wide kerf
Poor penetration
Increased bottom dross
Reduced dimensional accuracy
A common symptom is a cut that is wider at the top than at the bottom.
What Happens When the Plasma Torch Is Too Low?
Insufficient torch height may produce excessive heating or an undesirable edge profile.
Depending on the torch and consumable configuration, operating too close to the material can also increase the risk of nozzle damage.
Some systems are designed for drag cutting, while others require a specified stand-off distance.
Do not assume that the same torch height applies to every plasma cutting system.
How to Fix Torch Height Problems
Verify the recommended cutting height for the selected torch, consumables, current, and material.
For handheld cutting, maintain a consistent distance and use an appropriate guide where required.
For mechanized cutting, check the actual torch height and the torch height control settings.
Also confirm that the torch is perpendicular to the workpiece when a square cut is required.
Important: A tilted torch can create an uneven bevel even when the cutting speed and current are correct.
4. Incorrect Air Pressure, Air Flow, or Air Quality
Compressed air is commonly used in plasma cutting to support the plasma arc, cool torch components, and help remove molten metal.
The air supply must meet the requirements of the cutting system.
Incorrect pressure, insufficient flow, or contaminated air can reduce cutting performance.
Can Low Air Pressure Cause Bad Plasma Cuts?
Yes.
If the air supply cannot maintain the required operating conditions, the arc may become unstable.
Possible symptoms include rough edges, incomplete cutting, inconsistent kerf width, and accelerated consumable wear.
Pressure can also fall during cutting when the compressor does not have sufficient flow capacity.
An acceptable idle pressure reading does not necessarily confirm adequate pressure during operation.
How Does Moisture Affect Plasma Cutting?
Moisture and oil contamination can affect gas delivery and the condition of torch consumables.
This may contribute to unstable cutting performance and premature consumable deterioration.
How to Fix Air Supply Problems
Confirm that the compressor meets the required pressure and flow specifications.
Inspect air hoses and fittings for leaks or restrictions.
Check the regulator and filtration system.
Verify pressure under flowing conditions using the approved procedure.
Drain accumulated moisture.
Replace contaminated filter elements.
Confirm that the selected gas is suitable for the equipment and material.
There is no universal air pressure setting suitable for every plasma cutter.
Use the specifications provided for the actual cutting system.
5. Incorrect Amperage for Material Thickness
Cutting current determines the electrical output used by the plasma cutting process.
If the current is not appropriate for the material thickness and consumable configuration, cut quality may deteriorate.
What Happens When Amperage Is Too Low?
Insufficient current may reduce the cutting system's ability to penetrate the material at the selected speed.
Possible symptoms include:
Incomplete penetration
Excessive arc lag
Hard bottom dross
Narrow or inconsistent kerf
Reduced cutting speed capability
What Happens When Amperage Is Too High?
Excessive current for the selected nozzle or cutting conditions may increase kerf width, heat input, and consumable wear.
It may also produce undesirable edge profiles or excessive dross.
How to Fix Incorrect Amperage
Check the material type and thickness.
Confirm the machine's rated cutting capacity and the recommended operating current.
Verify that the nozzle and electrode are suitable for the selected current.
Use the equipment's cutting chart to establish an appropriate combination of current, speed, and torch height.
Do not increase amperage beyond the rating of the installed consumables.
Remember: A machine's maximum severance thickness is not necessarily the thickness at which it can consistently produce the best edge quality.
6. Poor Work Clamp Connection or Unstable Electrical Return Path
The work clamp provides the electrical return path required for transferred-arc plasma cutting.
If the connection is loose or unreliable, the cutting arc may become unstable.
This can contribute to inconsistent cutting performance.
Common Work Clamp Problems
The clamp is attached to painted or heavily rusted metal.
The clamp jaws are worn or damaged.
The return cable is loose or damaged.
The electrical path through the worktable is unreliable.
The workpiece does not have adequate electrical contact.
How to Fix It
Disconnect the equipment before inspecting cables or connections.
Check the condition of the work clamp and return cable.
Attach the clamp securely to a suitable clean, conductive surface.
Where practical, connect directly to the workpiece rather than relying on uncertain contact through fixtures.
Replace damaged components.
If the arc remains unstable after external checks, follow the equipment's diagnostic procedure or seek qualified servicing.
7. Incorrect Material Preparation or Cutting Conditions
Not every poor plasma cut is caused by the torch.
The condition of the workpiece can influence the cutting process.
Material thickness, surface contamination, coatings, and plate flatness may all affect cut quality.
How Does Material Condition Affect Plasma Cutting?
Heavy scale, coatings, or contamination can interfere with consistent cutting conditions and electrical contact.
Warped or uneven material can change the torch-to-workpiece distance during cutting.
Different metals also respond differently to the plasma cutting process.
For example, carbon steel, stainless steel, and aluminum may require different cutting parameters and gas configurations.
How to Fix It
Confirm the material type and thickness.
Inspect the workpiece for excessive contamination or distortion.
Prepare the work clamp contact area as needed.
Support the material securely and maintain a stable cutting height.
Use the recommended cutting parameters for the actual material.
Take appropriate precautions when cutting coated metals because hazardous fumes may be produced.
8. CNC Motion or Torch Height Control Problems
For CNC plasma cutting systems, mechanical motion and automatic height control can affect cutting quality.
Even with correctly installed consumables, inaccurate motion can produce irregular edges and dimensional errors.
Common CNC Plasma Cutting Problems
Torch vibration
Inconsistent travel speed
Incorrect pierce height
Incorrect cutting height
Improper kerf compensation
Excessive slowdown at corners
Incorrect lead-in or lead-out settings
Worn or loose motion components
Why Does Torch Height Control Matter?
Automatic torch height control is intended to maintain appropriate cutting conditions as the torch moves across the workpiece.
If the system responds incorrectly, the torch may move too close to or too far from the material.
This can affect bevel, kerf width, and consumable life.
How to Fix CNC Cutting Problems
Check the torch mounting and alignment.
Verify the pierce height, cutting height, and height control settings.
Confirm that the programmed cutting speed matches the process requirements.
Inspect the motion system for vibration, looseness, or irregular movement.
Review kerf compensation and lead-in settings.
For holes and tight corners, use cutting strategies appropriate to the machine, material, and required tolerance.
Change one setting at a time and evaluate the result on a test piece.
Why Is My Plasma Cutter Leaving Excessive Dross?
Excessive dross is one of the most common plasma cutting quality problems.
Dross is re-solidified molten material that remains attached to the workpiece after cutting.
Although some dross may occur depending on the process and material, excessive buildup often indicates that cutting parameters require adjustment.
How Do You Reduce Bottom Dross?
First, identify the type of dross.
If the dross is thick, rounded, and relatively easy to remove, the cutting speed may be too slow.
If it is a small, hard bead that is difficult to remove, the cutting speed may be too fast.
Adjust the cutting speed gradually while keeping the other parameters constant.
If the problem persists, inspect the torch height, amperage, consumables, and gas supply.
What Causes Dross on the Top of a Plasma Cut?
Top spatter appears as small deposits of re-solidified metal near the upper edge of the kerf.
Possible causes include incorrect cutting speed, torch height problems, worn consumables, and unstable gas flow.
Inspect the nozzle and verify the cutting parameters.
Avoid making large changes to multiple settings simultaneously.
Why Is My Plasma Cutter Cutting at an Angle?
A plasma cutter that produces angled or beveled edges may have a torch alignment problem, incorrect cutting height, worn nozzle, or unsuitable cutting parameters.
Bevel angle describes the deviation of the cut surface from a perpendicular edge.
Some bevel is inherent in conventional plasma cutting, but excessive or inconsistent bevel may indicate a setup problem.
What Causes a Beveled Plasma Cut?
Common causes include:
Torch height too high or too low
Torch not perpendicular to the workpiece
Worn or damaged nozzle
Incorrect cutting speed
Incorrect amperage
Unsuitable cutting direction
Irregular machine motion
How Can You Reduce Plasma Cutting Bevel?
Begin by checking the physical torch angle and cutting height.
Confirm that the consumables are in good condition.
Use the recommended current and cutting speed.
For CNC cutting, verify torch alignment and the programmed cut direction.
The gas swirl design of some plasma torches can cause one side of the kerf to be more square than the other. Follow the torch manufacturer's cutting-direction guidance when dimensional accuracy is important.
If bevel changes around the same part, inspect the torch alignment, nozzle condition, and machine motion.
Why Are My Plasma Cut Edges Rough or Jagged?
Rough plasma cut edges may result from an unstable arc, worn consumables, incorrect cutting speed, or inconsistent torch movement.
The appearance of the cut surface can help identify the problem.
Regular drag lines are part of many plasma cutting processes, but excessive irregularity may indicate poor cutting conditions.
How to Improve Rough Plasma Cut Edges
Start by inspecting the electrode and nozzle.
Verify the air supply and check for moisture contamination.
Confirm that the torch maintains a consistent height and travel speed.
For manual cutting, use a straightedge or suitable guide where appropriate.
For CNC cutting, inspect the torch mount, motion system, and speed control.
If the cut surface remains irregular, compare the actual settings with the recommended cutting chart.
Why Is My Plasma Cutter Not Cutting All the Way Through?
Incomplete penetration occurs when the cutting process fails to separate the full thickness of the material.
Possible causes include excessive cutting speed, insufficient current, excessive torch height, unsuitable consumables, or material that exceeds the equipment's effective cutting capacity.
How to Fix Incomplete Plasma Cuts
Check the actual material thickness.
Confirm that the machine is suitable for the application.
Verify the current setting and consumable rating.
Reduce cutting speed within the recommended operating range if the arc is not fully penetrating the material.
Check the torch height and air supply.
For thick material, follow the specified piercing and edge-start procedures.
Do not exceed the machine's rated capacity or attempt unsupported cutting methods.
Why Is My Plasma Cutter Making a Wide Kerf?
Kerf width is the amount of material removed by the plasma cutting arc.
An excessively wide kerf can affect dimensional accuracy and increase material waste.
Common causes include worn nozzles, excessive torch height, unsuitable amperage, and incorrect cutting speed.
How to Reduce Kerf Width
Inspect the nozzle orifice for wear.
Verify the correct consumable selection.
Check the actual torch height and current.
Compare the cutting speed with the recommended parameters.
For CNC applications, confirm that the programmed kerf compensation matches the actual cutting conditions.
Use a test cut and measure the resulting kerf before making further adjustments.
Why Are Plasma-Cut Holes and Corners Poor Quality?
Holes and corners can be more difficult to cut accurately than straight edges.
The cutting speed, arc behavior, and machine motion may change during tight turns.
Common problems include out-of-round holes, excessive taper, corner dross, and enlarged entry points.
How to Improve CNC Plasma Hole Quality
Use the recommended hole-cutting parameters for the system.
Check pierce height and pierce delay.
Verify lead-in and lead-out settings.
Use an appropriate cutting speed and avoid excessive torch movement.
Review torch height control behavior around small features.
For precision holes, compare the required tolerances with the actual capabilities of the cutting system.
Additional machining may still be necessary for applications requiring tighter tolerances than the plasma process can achieve.
How to Improve Plasma Cut Quality Step by Step
When a plasma cutter produces poor results, avoid changing several settings at once.
Use a controlled troubleshooting process.
Step 1: Identify the Main Cutting Defect
Determine whether the problem is excessive dross, bevel, rough edges, incomplete penetration, or dimensional inaccuracy.
Inspect both the top and bottom of the cut.
Step 2: Check the Consumables
Turn off and disconnect the machine before inspection.
Examine the electrode, nozzle, swirl ring, and other relevant torch components.
Replace damaged or incorrectly matched parts.
Step 3: Verify the Air Supply
Confirm the required pressure and flow.
Inspect filters, hoses, and regulators.
Check for moisture and contamination.
Step 4: Confirm the Material and Cutting Settings
Identify the material type and thickness.
Use the recommended cutting chart for the actual system and consumables.
Step 5: Check Torch Height and Alignment
Verify that the torch is correctly positioned.
For square cuts, confirm that the torch is perpendicular to the workpiece.
Step 6: Inspect the Work Clamp
Check the return cable and clamp connection.
Ensure reliable contact with clean metal.
Step 7: Perform a Controlled Test Cut
Use a suitable test piece of the same material and thickness.
Record the current, cutting speed, torch height, and consumable configuration.
Change one parameter at a time.
Step 8: Compare the Results
Inspect the resulting edge quality.
Look for changes in dross, bevel, kerf width, and penetration.
Continue making small adjustments until the result meets the requirements of the application.
Plasma Cutting Test Record
Test Item
What to Record
Material
Type and thickness
Torch and consumables
Model and installed configuration
Cutting current
Selected amperage
Gas supply
Gas type and specified operating conditions
Cutting speed
Travel speed
Torch height
Actual cutting height
Cut defect
Dross, bevel, rough edge or incomplete cut
Adjustment
Parameter changed
Result
Improvement or deterioration
A consistent testing procedure can reduce guesswork and help operators reproduce successful cutting conditions.
What Is the Difference Between Manual and CNC Plasma Cut Quality Problems?
Manual and CNC plasma cutting share many of the same process variables, but their troubleshooting priorities can differ.
Factor
Manual Plasma Cutting
CNC Plasma Cutting
Cutting speed
Depends on operator movement
Controlled by programmed motion
Torch height
Maintained manually or with a guide
May be controlled automatically
Torch angle
Depends on operator technique
Depends on mounting and alignment
Kerf compensation
Usually managed through layout and technique
Often programmed in cutting software
Corner accuracy
Depends on operator control
Depends on toolpath and machine dynamics
Common problems
Inconsistent hand speed and standoff
Incorrect height control, motion or program settings
For handheld cutting, consistent operator technique is especially important.
For CNC cutting, the motion system, torch height control, and programmed parameters should be inspected alongside the consumables and air supply.
How Do You Choose the Right Plasma Torch Consumables for Better Cut Quality?
Correct consumable selection is essential for maintaining stable cutting performance.
Replacement parts should match the torch model, operating current, and intended cutting application.
Before purchasing plasma torch consumables, verify the following information.
Selection Factor
Why It Matters
Torch model
Determines physical and functional compatibility
Electrode specification
Affects arc operation and service life
Nozzle specification
Influences arc geometry and cutting characteristics
Rated current
Must match the selected cutting process
Swirl ring design
Affects gas flow distribution
Retaining cap and shield
Must match the intended torch configuration
Manual or mechanized cutting
May require different consumable arrangements
Cutting application
Material, thickness and process requirements affect selection
Using parts that look similar but have different dimensions or ratings can result in poor cutting performance.
For industrial users and welding equipment distributors, verifying consumable compatibility before purchasing can help reduce returns, unexpected downtime, and replacement costs.
When ordering replacement consumables, provide the torch model, cutting current, component dimensions, and existing part specifications.
How Can You Prevent Poor Plasma Cut Quality?
Preventive maintenance and consistent operating practices help reduce recurring cutting problems.
Inspect the Torch Regularly
Check consumables for wear, damage, and contamination.
Replace parts before excessive wear affects cutting performance.
Maintain Clean and Stable Air
Inspect the compressor, regulator, filters, and hoses.
Remove accumulated moisture and maintain the required operating flow.
Use the Correct Cutting Parameters
Select the appropriate current, speed, and torch height for the material and consumables.
Avoid relying on one setting for every material thickness.
Protect Torch Cables and Connections
Prevent sharp bends, crushing, abrasion, and excessive pulling.
Inspect external electrical connections and the work return cable.
Maintain the Cutting Table
For CNC systems, inspect the torch mount, motion components, work support, and height control system.
Keep the cutting area free of excessive debris that could interfere with the workpiece or torch movement.
Monitor Cutting Results
Record recurring problems and compare them with operating conditions.
If cutting quality changes unexpectedly, inspect consumables and the air supply before making extensive parameter changes.
Frequently Asked Questions About Plasma Cutter Poor Cut Quality
1. Why Is My Plasma Cutter Making Bad Cuts?
A plasma cutter may produce poor cuts because of worn consumables, incorrect cutting speed, improper torch height, unsuitable amperage, poor air quality, or unstable electrical connections. Start by identifying the visible defect and checking the recommended cutting parameters.
2. Why Is My Plasma Cutter Leaving So Much Dross?
Excessive dross commonly results from incorrect cutting speed, torch height, amperage, or consumable condition. Thick, bubbly bottom dross often indicates slow cutting, while a small, hard bottom bead may indicate excessive cutting speed.
3. Why Is My Plasma Cutter Cutting at an Angle?
Beveled cuts can result from incorrect torch height, a tilted torch, worn nozzles, or unsuitable cutting parameters. Check torch alignment, consumable condition, cutting speed, and the recommended cutting height.
4. How Do I Get a Cleaner Cut With a Plasma Cutter?
Use correctly matched consumables, maintain clean and stable air flow, follow the recommended cutting chart, and keep the torch at the proper height. Adjust cutting speed gradually and inspect the resulting edge quality.
5. Why Are My Plasma Cut Edges Rough?
Rough edges may be caused by unstable arc conditions, worn consumables, contaminated air, incorrect cutting speed, or irregular torch movement. Inspect the nozzle and electrode first, then verify the air supply and cutting settings.
6. What Happens if Plasma Cutting Speed Is Too Fast?
Excessive cutting speed can cause the arc to lag behind the torch. This may produce hard bottom dross, excessive bevel, incomplete penetration, or an unstable cutting arc. Reduce speed gradually and evaluate the result.
7. What Happens if Plasma Cutting Speed Is Too Slow?
Cutting too slowly can increase heat input, widen the kerf, and produce thick, bubbly bottom dross. Increase cutting speed in small steps while maintaining the other settings.
8. Can a Worn Plasma Nozzle Cause Poor Cut Quality?
Yes. A worn or damaged nozzle can distort the plasma arc, resulting in excessive bevel, rough edges, or inconsistent kerf width. Replace damaged nozzles with compatible components.
9. What Air Pressure Is Best for Plasma Cutting?
The correct air pressure depends on the plasma cutter, torch, consumables, and cutting process. Always follow the specified pressure and flow requirements. Verify that the air supply remains stable during operation.
10. Why Is My Plasma Cutter Not Cutting All the Way Through?
Incomplete penetration may result from excessive cutting speed, insufficient current, excessive torch height, worn consumables, or material thickness beyond the machine's effective cutting capacity. Check the material and operating parameters before making adjustments.
11. How Can I Reduce Bevel in Plasma Cutting?
Check the torch angle, actual cutting height, nozzle condition, current, and cutting speed. For CNC systems, also inspect torch alignment and cutting direction. Use the recommended process settings for the selected material.
12. Why Does My CNC Plasma Cutter Produce Poor Hole Quality?
Poor hole quality can result from unsuitable cutting speed, incorrect lead-in settings, torch height control problems, or machine motion limitations. Use the recommended hole-cutting procedures and verify that the required tolerances are achievable.
13. How Often Should Plasma Torch Consumables Be Replaced?
Consumable life depends on cutting current, material thickness, air quality, operating conditions, and the number of arc starts. Inspect components regularly and replace them when wear or damage exceeds the recommended limits.
14. Why Does My Plasma Cutter Cut Well at First but Get Worse Later?
Cut quality may deteriorate because of consumable wear, changes in air pressure or flow, moisture accumulation, thermal limitations, or unstable operating conditions. Compare the initial and later cuts, inspect the consumables, and verify the air supply during continuous operation.
Final Thoughts: How to Fix Poor Plasma Cut Quality
If your plasma cutter is making bad cuts, the problem is not necessarily caused by a defective machine.
Many common cutting defects can be traced to incorrect cutting speed, improper torch height, worn consumables, unsuitable current, or unstable gas delivery.
The most effective approach is to identify the defect, inspect the torch and air supply, verify the recommended cutting parameters, and perform controlled test cuts.
For manual cutting, consistent torch movement and standoff are essential.
For CNC cutting, accurate motion, correct torch height control, and suitable programming settings are equally important.
Better plasma cut quality starts with the right consumables, correct cutting parameters, stable gas delivery, and a systematic maintenance process.
By understanding the causes of dross, bevel, rough edges, wide kerfs, and incomplete penetration, operators and fabrication businesses can improve cutting consistency, reduce rework, and achieve more reliable production results.
This website uses cookies and similar technologies (“cookies”). Subject to your consent, will use analytical cookies to track which content interests you, and marketing cookies to display interest-based advertising. We use third-party providers for these measures, who may also use the data for their own purposes.
You give your consent by clicking "Accept all" or by applying your individual settings. Your data may then also be processed in third countries outside the EU, such as the US, which do not have a corresponding level of data protection and where, in particular, access by local authorities may not be effectively prevented. You can revoke your consent with immediate effect at any time. If you click on "Reject all", only strictly necessary cookies will be used.
 English
 简体中文
简体中文 العربية
 Français
 Русский
 Español
 Português
 Deutsch
 italiano
 日本語
日本語 한국어
한국어 Nederlands
 Tiếng Việt
 ไทย
ไทย Polski
 Türkçe
 ភាសាខ្មែរ
 Bahasa Melayu
 Filipino
 Bahasa Indonesia
 magyar
 Română
 Čeština
 Монгол
 қазақ
қазақ Српски
 हिन्दी
 فارسی
فارسی Slovenčina
 Slovenščina
 Norsk
Norsk Svenska
 українська
 Ελληνικά
 Suomi
Suomi Latine
 Dansk
Dansk বাংলা
বাংলা Hrvatski
 Afrikaans
 Gaeilge
 Eesti keel
 नेपाली
 Oʻzbekcha
 latviešu
 Azərbaycan dili
 Беларуская мова
 Bosanski
 Български
 ქართული
 Lietuvių