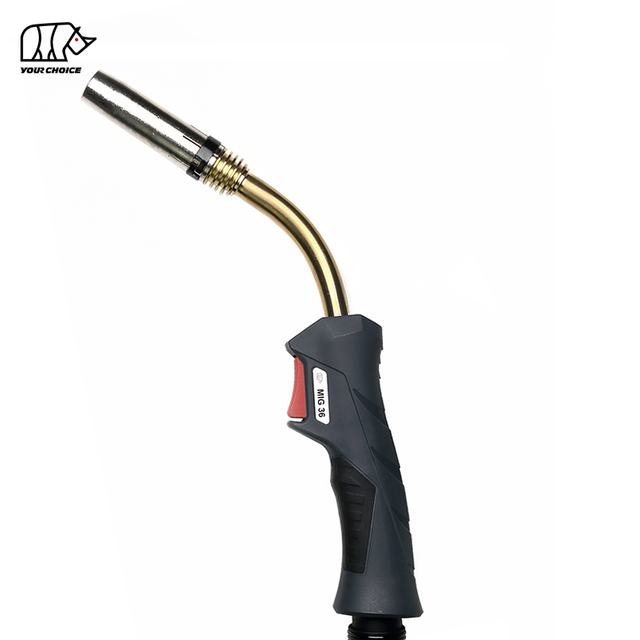
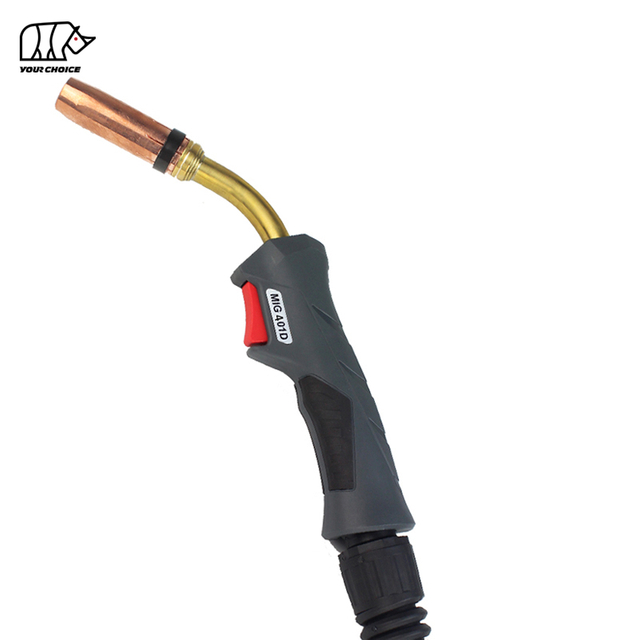
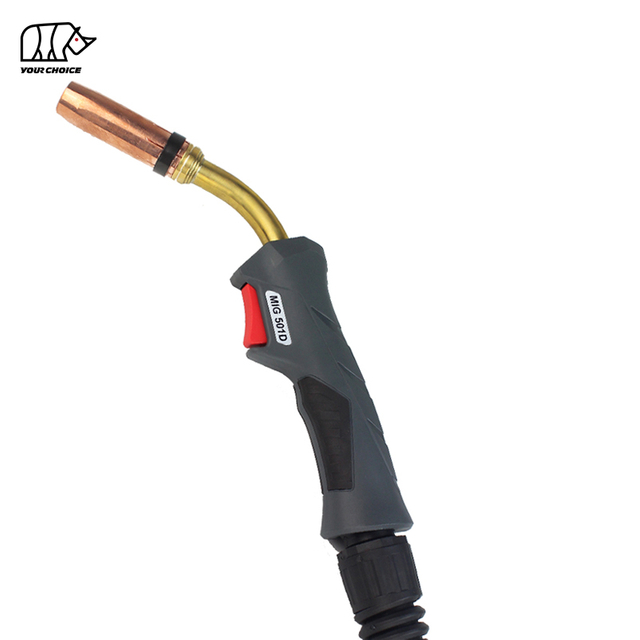
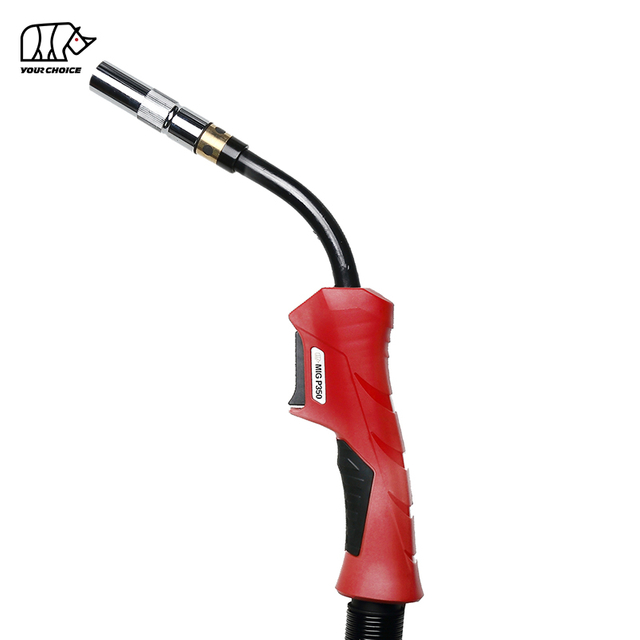
A MIG torch keeps jamming wire when resistance somewhere between the wire spool and contact tip becomes greater than the wire feeder can overcome consistently. The most common causes are incorrect drive-roll pressure, a dirty or undersized liner, a sharply bent torch cable, the wrong contact tip, excessive spool tension, damaged welding wire, or poor alignment between the feeder and torch.
A wire jam is not always a torch failure.
The problem may occur at three different points:
wire feeder → torch liner → contact tip
Finding the exact location of the restriction is the fastest way to fix the problem without replacing unnecessary parts.
For production welding, repeated wire jamming should never be treated as normal. It increases downtime, contact-tip consumption, operator intervention, arc instability, and the cost per welded part.
Why Does My MIG Wire Keep Jamming?
MIG wire usually jams because the wire-feed system has too much resistance or unstable drive force.
Common Cause
What Happens
Typical Fix
Drive-roll pressure too high
Wire deforms or nests
Reduce pressure
Drive-roll pressure too low
Wire slips
Increase pressure gradually
Wrong drive-roll groove
Wire is crushed or poorly gripped
Match roll to wire
Dirty or incorrect liner
Friction rises inside torch cable
Clean or replace liner
Torch cable bent sharply
Wire drags inside liner
Straighten cable
Wrong contact tip size
Wire sticks or wanders
Use correct tip
Spool tension too high
Feeder struggles to pull wire
Reduce brake tension
Rusty or contaminated wire
Debris enters liner
Replace wire
Poor guide alignment
Wire catches before liner
Realign feed path
Key takeaway: Do not immediately increase drive-roll pressure when MIG wire stops feeding. Excessive pressure can create birdnesting and make the problem worse.
What Does “MIG Wire Jamming” Actually Mean?
MIG wire jamming is a wire-feed failure in which the electrode wire cannot travel smoothly from the spool through the feeder, liner, contact tip, and into the arc.
The term can describe several different problems.
What Is a Contact-Tip Jam?
A contact-tip jam occurs when the wire reaches the front of the torch but cannot pass smoothly through the contact tip.
Common causes include:
incorrect tip size;
damaged tip bore;
burnback;
spatter contamination;
overheated contact tip.
What Is Birdnesting?
Birdnesting is a wire-feed failure in which welding wire buckles and forms a tangled loop near the drive rolls because the feeder continues pushing while the wire cannot move through the torch.
Birdnesting usually means:
The restriction is downstream of the drive rolls.
Possible causes include:
blocked liner;
wrong liner size;
sharply bent cable;
contact-tip blockage;
excessive drive-roll pressure.
What Is Wire Slippage?
Wire slippage occurs when the drive rolls turn but fail to move the wire consistently.
Typical causes include:
insufficient drive-roll pressure;
incorrect roll groove;
oily wire;
worn drive rolls;
excessive spool resistance.
These three problems—tip sticking, birdnesting, and wire slippage—may look similar during welding but require different solutions.
Where Is the MIG Wire Actually Jamming?
Before changing any parts, determine where the resistance occurs.
If the Wire Jams at the Feeder
Check:
spool brake;
drive rolls;
inlet guide;
outlet guide;
drive-roll pressure;
spool alignment.
If the Wire Jams Inside the Torch Cable
Check:
liner condition;
cable bends;
liner size;
liner installation;
dirt or metal particles.
If the Wire Jams at the Contact Tip
Check:
contact-tip bore;
tip size;
burnback;
spatter;
front-end overheating.
This simple location-based diagnosis can save significant troubleshooting time.
Cause 1: Is the Drive-Roll Pressure Too High or Too Low?
Incorrect drive-roll pressure is one of the most common causes of MIG wire-feeding problems.
The drive rolls must grip the wire firmly enough to move it through the torch while avoiding excessive deformation.
What Happens If Drive-Roll Pressure Is Too Low?
The rolls may slip on the wire.
Symptoms include:
irregular wire speed;
arc surging;
inconsistent feeding;
wire stops under load;
visible polished marks on the wire.
The natural reaction is often to tighten the pressure dramatically.
That can create a second problem.
What Happens If Drive-Roll Pressure Is Too High?
Excessive pressure can:
deform the wire;
create metal flakes;
damage the wire surface;
increase liner contamination;
contribute to birdnesting.
For softer wire, excessive pressure is particularly problematic.
The correct setting is:
Enough pressure to feed consistently, but no more than necessary.
Cause 2: Are You Using the Wrong Drive Roll?
The drive-roll groove must match the wire diameter and material.
Different wire types require different feeding characteristics.
Wire Type
Feed Characteristic
Main Risk
Solid steel wire
Relatively stiff
Slippage if pressure is too low
Stainless wire
Stiff but surface-sensitive
Wear and feed inconsistency
Flux-cored wire
Tubular structure
Crushing if pressure is excessive
Aluminum wire
Very soft
Deformation and birdnesting
A drive roll that is too large for the wire may not grip correctly.
A groove that is too small can deform the wire.
For soft wire, aggressive drive pressure or unsuitable roll geometry can create serious feeding instability.
Cause 3: Is the MIG Torch Liner Dirty, Damaged, or the Wrong Size?
A blocked or incorrectly sized liner is one of the most frequent reasons a MIG torch keeps jamming wire.
The liner guides welding wire through the torch cable.
It must provide enough clearance for smooth feeding without allowing excessive wire movement.
What Happens When the Liner Is Too Small?
An undersized liner creates excessive friction.
This becomes worse when:
cable length increases;
the torch bends;
wire surface is contaminated;
welding wire has a larger actual diameter.
The feeder then needs more force to push the wire.
Eventually:
friction > feeding force = wire jam
What Happens When the Liner Is Too Large?
An excessively large liner may allow the wire to move irregularly.
This can create:
unstable feeding;
vibration;
inconsistent wire position;
accelerated wear.
The correct liner should be selected according to the wire diameter and material range.
How Does Liner Contamination Cause Jamming?
Every meter of welding wire entering the torch can carry small amounts of:
dust;
oil;
rust;
metal particles;
drawing residue.
These contaminants accumulate inside the liner.
Over time, friction increases.
This is why a torch that fed perfectly when new can gradually begin experiencing wire-feed problems.
Cause 4: Is the MIG Torch Cable Bent or Coiled Too Tightly?
A sharply bent MIG torch cable increases friction between the welding wire and liner and can cause intermittent or continuous wire jamming.
The wire must travel several meters through the cable before reaching the contact tip.
Every bend increases resistance.
Why Do Tight Bends Cause Wire-Feed Problems?
When the cable bends:
wire presses against the liner wall;
contact area increases;
friction rises;
feeder load increases.
The problem becomes more severe with:
long torch cables;
soft wire;
contaminated liners;
small liner clearance.
How Should a MIG Torch Cable Be Positioned?
When diagnosing a wire jam:
Lay the torch cable as straight as practical.
Remove tight loops.
Avoid twisting the cable.
Feed wire again.
If feeding improves significantly, cable routing is contributing to the problem.
For precision production, choose a cable length that is long enough for the application but no longer than necessary.
Cause 5: Is the Contact Tip Causing the Wire to Stick?
A contact tip that is undersized, worn, overheated, contaminated, or damaged can stop the wire at the final point of the feed path.
This is one of the easiest problems to diagnose.
Remove the contact tip and feed the wire.
If the wire feeds smoothly with the tip removed but jams after the tip is installed, the problem is likely at the contact tip.
What Happens If the Contact Tip Is Too Small?
The wire may bind inside the bore.
Possible symptoms include:
wire stops at torch front;
feeder pushes and birdnests;
wire moves when cold but sticks when hot;
burnback occurs frequently.
The tip must match the welding wire diameter.
Can Heat Make a Contact Tip Jam Wire?
Yes.
The contact tip operates very close to the welding arc.
Excessive thermal loading may affect the tip and surrounding consumables.
If a tip becomes damaged or the wire burns back into the bore, the wire can weld itself temporarily to the tip.
This is commonly called burnback.
What Is Burnback and Why Does It Cause Wire Jams?
Burnback occurs when the welding wire melts back into or onto the contact tip instead of maintaining the correct distance between the wire end and contact tip.
After burnback:
the wire may fuse to the tip;
the tip bore may become damaged;
the next wire-feed attempt may fail;
the feeder may create a birdnest.
Repeated burnback should not simply be treated by replacing contact tips.
Check:
wire-feed speed;
voltage relationship;
contact tip condition;
wire-feed consistency;
torch position.
Cause 6: Is Spool Tension Too High?
The welding wire spool needs enough braking force to prevent uncontrolled rotation after the feeder stops.
But too much braking force makes the drive rolls work harder.
Excessive spool tension can cause wire slippage, unstable feeding, and apparent torch jamming.
The welding wire should enter the liner without being forced sideways.
Why Does MIG Wire Jam More Often With Aluminum?
Aluminum welding wire jams more easily because it is softer and less resistant to compression and buckling than steel wire.
This makes aluminum feeding particularly sensitive to:
drive-roll pressure;
liner friction;
cable bends;
cable length;
feed distance.
A small amount of resistance that would not stop steel wire can cause soft aluminum wire to buckle near the feeder.
How Can You Improve Aluminum MIG Wire Feeding?
For soft-wire applications:
use an appropriate low-friction liner;
avoid tight cable bends;
keep cable length practical;
use drive rolls suited to soft wire;
avoid excessive drive pressure;
keep wire clean;
use a correctly sized contact tip.
For very demanding applications, a feeding system designed to reduce the distance over which soft wire must be pushed may provide greater consistency.
Why Does the Wire Feed Fine With the Contact Tip Removed?
This is one of the most useful diagnostic tests.
If wire feeds smoothly with the contact tip removed:
spool + drive rolls + liner are probably capable of feeding the wire.
The restriction is likely at or near the torch front end.
Inspect:
contact tip;
tip size;
burnback;
tip holder;
front-end alignment.
If wire still feeds poorly with the contact tip removed, investigate the liner, cable, drive rolls, and spool.
Why Does MIG Wire Keep Birdnesting at the Feeder?
Repeated birdnesting usually means the feeder is pushing wire faster than the downstream torch system can accept it.
Common causes include:
blocked liner;
incorrect liner;
contact-tip jam;
cable bent sharply;
excessive drive-roll pressure;
soft wire buckling.
When a birdnest occurs, do not simply cut away the tangled wire and restart.
The downstream restriction must be identified first.
Otherwise, the next birdnest is likely to happen again.
What Should You Check First When MIG Wire Stops Feeding?
Use this quick diagnostic sequence.
Step
Check
What It Tells You
1
Remove contact tip
Separates tip problems from feed-path problems
2
Straighten torch cable
Identifies bend-related resistance
3
Feed wire manually
Tests liner resistance
4
Check drive-roll pressure
Detects slipping or crushing
5
Inspect drive-roll groove
Confirms correct wire compatibility
6
Check spool tension
Detects excessive brake resistance
7
Inspect wire condition
Identifies rust or contamination
8
Check liner
Detects blockage or wrong size
9
Check guide alignment
Detects mechanical drag
This sequence is more efficient than randomly replacing parts.
How Do You Test a MIG Torch Liner?
A practical test is to remove the contact tip and feed wire through the torch with the cable arranged as straight as possible.
The wire should move smoothly.
If significant resistance remains:
Remove the wire.
Inspect the liner.
Check for contamination.
Verify liner size.
Confirm liner length and installation.
Replace the liner if resistance remains excessive.
The liner is a wear component.
It should be treated as part of routine wire-feed maintenance rather than a lifetime component.
Can an Incorrectly Installed Liner Cause Wire Jamming?
Yes.
Even a new liner can cause feeding problems if it is installed incorrectly.
Potential installation problems include:
liner cut too short;
liner cut too long;
poor seating at the front end;
poor seating at the rear connection;
sharp burr at the cut end;
incorrect liner specification.
A poorly trimmed liner can create a gap between components where welding wire can catch.
Use a clean cut and follow the torch's correct liner-installation procedure.
Why Does MIG Wire Feed Become Worse When the Torch Gets Hot?
If wire feeding becomes progressively worse during long welding periods, inspect the front end.
Heat can accelerate:
contact-tip wear;
spatter buildup;
burnback;
component expansion;
consumable damage.
The problem may therefore appear as:
cold torch = normal feeding
followed by:
hot torch = wire sticking
In that situation, the wire-feed system may not be the only issue.
Torch amperage, duty cycle, cooling, and consumable condition should also be checked.
How Does Cable Length Affect MIG Wire Feeding?
Longer torch cables create a longer mechanical path for the wire.
More length means more opportunity for:
friction;
bends;
liner contamination;
wire drag.
This does not mean long cables are always problematic.
It means the complete feeding system must be selected for the required length.
For production welding, avoid choosing unnecessarily long torch assemblies when shorter cables can comfortably reach the welding area.
How Do You Troubleshoot a MIG Torch That Keeps Jamming Wire?
Use the following step-by-step process.
Step 1: Remove the Contact Tip
Feed wire.
If the problem disappears, inspect or replace the contact tip.
Step 2: Straighten the Torch Cable
Remove tight bends and loops.
Test feeding again.
Step 3: Inspect the Drive Rolls
Verify:
correct groove;
correct diameter;
clean surface;
proper alignment.
Step 4: Adjust Drive-Roll Pressure
Use only enough pressure for reliable feeding.
Do not use pressure to compensate for a blocked liner.
Step 5: Check Spool Brake Tension
Make sure the spool rotates freely without uncontrolled overrun.
Step 6: Inspect Welding Wire
Replace rusty, contaminated, or damaged wire.
Step 7: Inspect or Replace the Liner
Use the correct liner for the wire diameter and material.
Step 8: Check Guide Alignment
Make sure the wire moves smoothly into the liner.
Step 9: Inspect Torch Front-End Consumables
Check:
tip holder;
diffuser;
contact tip;
nozzle;
spatter condition.
MIG Wire-Feed Troubleshooting Table
Symptom
Most Likely Cause
First Action
Wire slips at drive rolls
Low pressure / high resistance
Check pressure and liner
Wire birdnests
Downstream blockage
Check tip and liner
Wire jams only when cable bends
Cable/liner friction
Straighten cable
Wire jams at contact tip
Wrong/damaged tip
Replace correct tip
Wire feeds poorly after long welding
Heat/front-end issue
Inspect tip and duty cycle
Wire feeds poorly from new spool
Spool tension/alignment
Check spool system
Fine metal particles near feeder
Excessive pressure/wrong rolls
Adjust drive system
Rust inside liner
Contaminated wire
Replace wire and liner
Aluminum wire repeatedly buckles
Excessive feed resistance
Optimize soft-wire path
Arc surges with feeding
Intermittent wire delivery
Inspect complete feed path
How Can You Prevent MIG Wire Jamming?
Prevention is easier and cheaper than repeated troubleshooting.
Use the Correct Consumables
Match:
wire;
drive roll;
liner;
contact tip.
All four must work as one system.
Keep the Cable as Straight as Practical
Avoid unnecessary loops and sharp bends.
Keep Welding Wire Clean and Dry
Store wire away from:
moisture;
grinding dust;
oil;
corrosive environments.
Replace Liners Before They Become Severely Contaminated
Do not wait until wire completely stops feeding.
Inspect Contact Tips Regularly
Replace tips showing:
burnback;
enlarged bores;
damage;
excessive contamination.
Do Not Overtighten Drive Rolls
More pressure does not automatically mean better feeding.
How Should You Select a MIG Torch for Reliable Wire Feeding?
A MIG torch should be selected according to wire diameter, wire material, cable length, welding current, duty cycle, liner type, and consumable compatibility.
Torch Selection Factor
Why It Matters
Wire diameter
Determines tip and liner size
Wire material
Determines feeding difficulty
Cable length
Affects friction
Liner type
Controls wire guidance
Contact tip
Controls final wire path
Welding current
Influences front-end temperature
Duty cycle
Influences thermal stability
Cable flexibility
Affects routing
Consumable availability
Simplifies maintenance
For distributors and industrial buyers, wire-feed reliability should be evaluated before selecting a torch only by amperage or price.
A torch can have sufficient electrical capacity while still being poorly matched to a difficult wire-feeding application.
FAQ About MIG Wire Jamming
Why Does My MIG Wire Keep Jamming?
MIG wire usually jams because of excessive resistance somewhere between the spool and contact tip. Common causes include a dirty liner, incorrect drive-roll pressure, a bent torch cable, the wrong contact tip, excessive spool tension, contaminated wire, or poor feeder alignment.
Why Does My MIG Wire Keep Birdnesting?
Birdnesting occurs when the feeder continues pushing wire but a restriction prevents the wire from moving through the torch. Check the contact tip, liner, cable bends, drive-roll pressure, and wire condition.
Why Is My MIG Wire Not Feeding Through the Gun?
Remove the contact tip and test the wire feed. If feeding improves, the contact tip is likely causing the restriction. If the wire still feeds poorly, inspect the liner, torch cable, drive rolls, spool tension, and wire condition.
Can a Bad Liner Cause MIG Wire Jamming?
Yes. A dirty, damaged, undersized, oversized, or incorrectly installed liner can increase wire-feed resistance and cause slipping, birdnesting, or complete wire-feed failure.
Can Too Much Drive-Roll Pressure Cause Wire Jams?
Yes. Excessive drive-roll pressure can deform welding wire, generate metal particles, increase liner contamination, and contribute to birdnesting. Use only enough pressure to feed the wire consistently.
Why Does Aluminum MIG Wire Jam More Often?
Aluminum welding wire is softer than steel wire and is more likely to deform or buckle under compressive force. It requires a low-resistance wire path, suitable drive rolls, an appropriate liner, correct tip size, and minimal cable bends.
Can a Contact Tip Cause Wire-Feed Problems?
Yes. An incorrect, damaged, overheated, or contaminated contact tip can restrict wire movement. Burnback can also fuse the wire to the tip and stop feeding completely.
Should I Replace the MIG Torch if the Wire Keeps Jamming?
Not immediately. First inspect the contact tip, liner, drive rolls, spool tension, cable routing, wire condition, and alignment. Replace the torch or cable assembly only if damage, excessive internal resistance, or application mismatch remains after normal troubleshooting.
Conclusion: How Do You Stop a MIG Torch From Jamming Wire?
If your MIG torch keeps jamming wire, start by finding where the resistance occurs.
This website uses cookies and similar technologies (“cookies”). Subject to your consent, will use analytical cookies to track which content interests you, and marketing cookies to display interest-based advertising. We use third-party providers for these measures, who may also use the data for their own purposes.
You give your consent by clicking "Accept all" or by applying your individual settings. Your data may then also be processed in third countries outside the EU, such as the US, which do not have a corresponding level of data protection and where, in particular, access by local authorities may not be effectively prevented. You can revoke your consent with immediate effect at any time. If you click on "Reject all", only strictly necessary cookies will be used.
 English
 简体中文
简体中文 العربية
 Français
 Русский
 Español
 Português
 Deutsch
 italiano
 日本語
日本語 한국어
한국어 Nederlands
 Tiếng Việt
 ไทย
ไทย Polski
 Türkçe
 ភាសាខ្មែរ
 Bahasa Melayu
 Filipino
 Bahasa Indonesia
 magyar
 Română
 Čeština
 Монгол
 қазақ
қазақ Српски
 हिन्दी
 فارسی
فارسی Slovenčina
 Slovenščina
 Norsk
Norsk Svenska
 українська
 Ελληνικά
 Suomi
Suomi Latine
 Dansk
Dansk বাংলা
বাংলা Hrvatski
 Afrikaans
 Gaeilge
 Eesti keel
 नेपाली
 Oʻzbekcha
 latviešu
 Azərbaycan dili
 Беларуская мова
 Bosanski
 Български
 ქართული
 Lietuvių