Introduction
Porosity is one of the most common and persistent defects in TIG welding. It appears as small pinholes on the weld surface or as hidden voids trapped beneath it. While it may initially look like a minor cosmetic issue, porosity actually reduces strength, shortens fatigue life, and can create leak paths in components that must hold pressure or fluids.
The challenge with porosity is that it doesn't come from a single source. Contaminated base material, filler handling, moisture, shielding gas instability, and arc technique can all introduce gases into the molten pool. Once there, those gases may not escape before the metal solidifies.
Fortunately, the mechanisms behind porosity are well understood—and so are the ways to prevent it. This article provides a comprehensive checklist to help you identify potential causes of porosity and implement effective prevention strategies.

Understanding Porosity in TIG Welding
What Is Porosity?
Porosity in TIG welding is the presence of gas cavities that remain inside the weld metal after it solidifies. These cavities form when gases become trapped in the molten pool and cannot escape before cooling. The result is a weld that may look continuous on the outside but contains empty spaces that weaken its structure.
Several sources can introduce gas into the pool:
Oils, paint, rust, and oxides on the base material or filler decompose into gases
Moisture adds hydrogen, which dissolves in the liquid metal and separates as it cools
Shielding problems, such as drafts or poor gas flow, allow air to mix with the arc
If these gases are not released in time, they stay locked in the weld.
Why Porosity Matters
Strength and Fatigue Resistance
Porosity reduces the effective area of solid metal and concentrates stress around each void. Under cyclic loading, those concentrated stresses become crack initiation points. While scattered pores are less damaging than clusters, both shorten fatigue life.
Leak Tightness and Pressure Integrity
When welds need to be airtight or liquid-tight, even a single pore can act as a channel. Several aligned pores can create the same effect, often leading to failures during pressure testing. This is especially critical in stainless steel and aluminum tubing where sealing is the primary requirement.
Corrosion and Surface Integrity Risks
Open pores create pockets that trap water, acids, or shop residues. On stainless steel, this promotes localized corrosion and pitting. On aluminum, pores can hold oils or fluids that later stain or carbonize in service.
Types of Porosity
Surface Pinhole Porosity
Small, round openings on the bead face that appear randomly or line up along the centerline. They indicate that shielding, cleanliness, or environmental stability needs attention.
Subsurface Porosity
Hidden beneath a smooth bead, this type forms when bubbles nucleate and grow within the pool but the surface stays closed. The joint may pass visual inspection but show voids during sectioning or leak testing.
Cluster Porosity
Many small voids packed into a local zone, often pointing to a single cause acting over a short distance—such as a draft hitting one section of a seam or a contaminated patch on the base metal.
Crater Porosity
Appears at the end of a bead when the pool shrinks too fast without enough shielding or filler to keep the surface fed as it freezes.
The Prevention Checklist
Pre-Weld Cleaning and Preparation
Any contamination on the joint or filler can release gas, so prevention starts with thorough cleaning.
Base Metal Preparation
Remove all surface contaminants: Oil, paint, rust, mill scale, and oxide films must be eliminated. These contaminants decompose under arc heat and release gases such as hydrogen and carbon monoxide.
Mechanical cleaning: For carbon steel, grind until you expose bare metal. For aluminum, use a dedicated stainless steel wire brush to break up the oxide layer, which is hygroscopic (absorbs moisture).
Chemical degreasing: Wipe surfaces with acetone or isopropyl alcohol. Avoid solvents that may leave residue.
Clean the joint area: Extend cleaning at least 20-50mm on either side of the joint.
Filler Rod Management
Store filler rods properly: Keep them in sealed containers or a dedicated rod oven to prevent moisture absorption.
Clean before use: Wipe filler rods with acetone and a clean rag before welding. You may be surprised by the amount of dust and drawing lubricant that comes off.
Handle with clean gloves: Avoid touching the filler tip with bare hands, as skin oils can contaminate the weld.
Inspect rod ends: Cut off any darkened or oxidized ends before use.
Special Case: Paraffin-Coated Materials
If you're welding plates protected with a paraffin layer, degreasing is absolutely essential. Paraffin contamination is a common cause of porosity that may not be visible until after welding.
Shielding Gas System Inspection
Shielding gas issues are among the most direct causes of porosity. Argon must cover the pool consistently from start to finish.
Gas Type and Purity
Use the correct gas: For TIG welding on steel, stainless steel, and aluminum, use 100% Argon. Nitrogen is a poor choice for shielding—it dissolves easily in liquid metal and causes porosity as it attempts to escape during cooling.
Check purity levels: Industrial TIG requires argon purity of at least 99.99%. For aluminum and titanium, consider high-purity argon (99.999%).
Verify your gas source: If porosity appears suddenly after changing gas cylinders, suspect contaminated gas or moisture in the bottle.
Flow Rate Settings
Gas flow must be set correctly—too low or too high both cause problems.
Optimal Flow Rates by Nozzle Size :
Too low: Fails to displace air, causing oxidation and porosity
Too high: Creates turbulence that pulls surrounding air into the shielding gas stream
General rule: 12-20 CFH is typical for indoor TIG welding
Gas Lens Benefits
A gas lens contains multilayer stainless steel mesh that converts turbulent flow into stable laminar flow. Benefits include :
Wider, deeper shielding coverage
Longer tungsten stickout (up to 10mm or more)
Improved visibility
Reduced risk of air entrainment
System Leak Testing
Inspect all connections: Hoses, fittings, regulators, and torch connections should be checked regularly.
Soap test: Apply a mild soapy water solution to joints and look for bubbles.
Check torch components: Replace worn O-rings, cracked cups, or damaged back caps.
Environmental Controls
Shops are rarely still, and even light drafts can disturb shielding.
Wind and Draft Protection
Avoid fans and drafts: Position work away from direct airflow. Even slight air movement can disrupt gas coverage.
Use barriers: For outdoor or breezy conditions, set up welding screens or temporary enclosures.
Know the limits: Avoid welding in ambient wind speeds exceeding 2 m/s.
Humidity Management
Monitor moisture levels: On high-humidity days (above 80%), aluminum welding becomes particularly prone to porosity.
Preheat when needed: For thick plates, preheating to 100-150°C helps drive off adsorbed moisture and slows cooling, giving bubbles more time to escape.
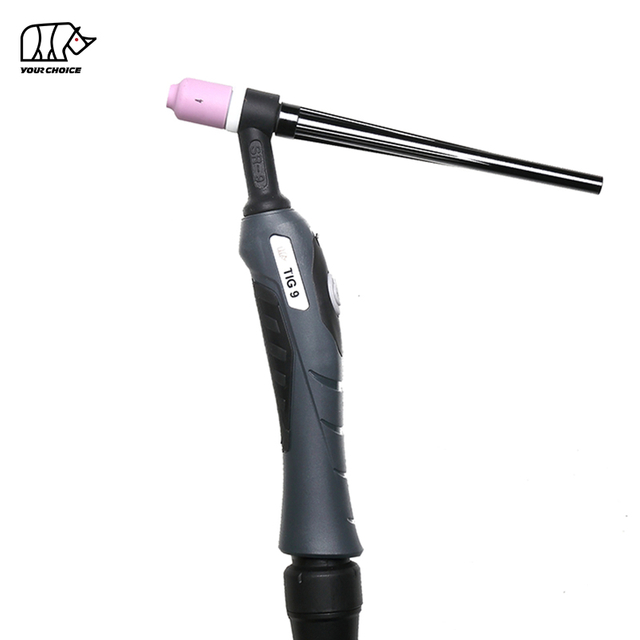
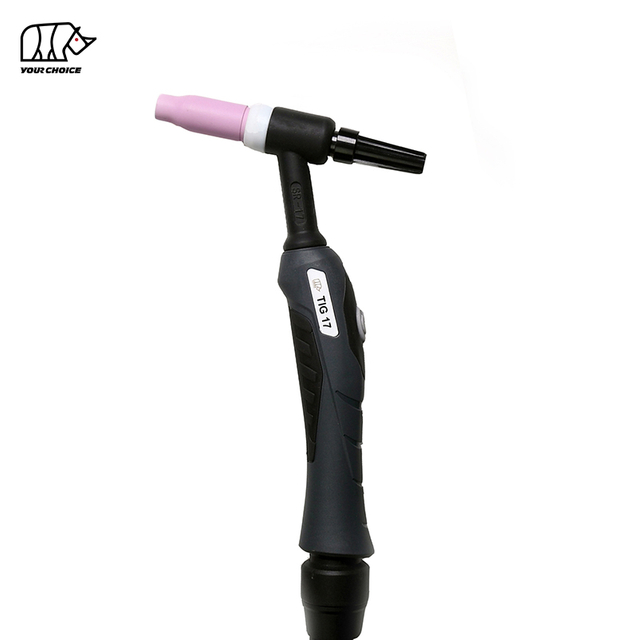
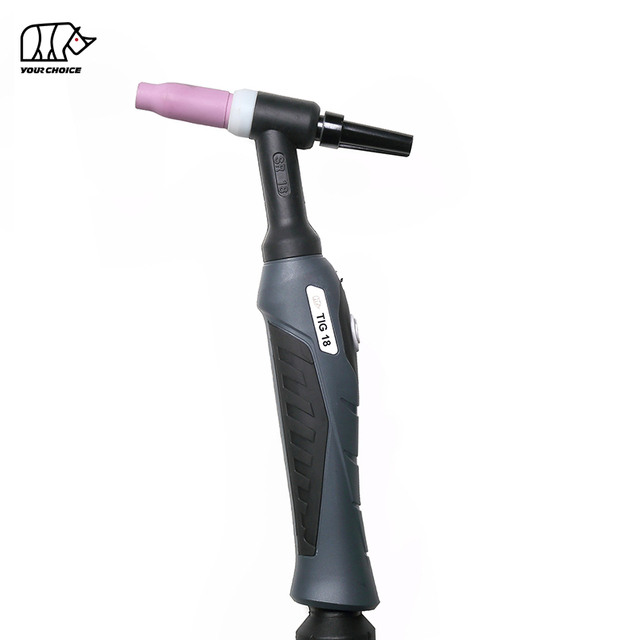
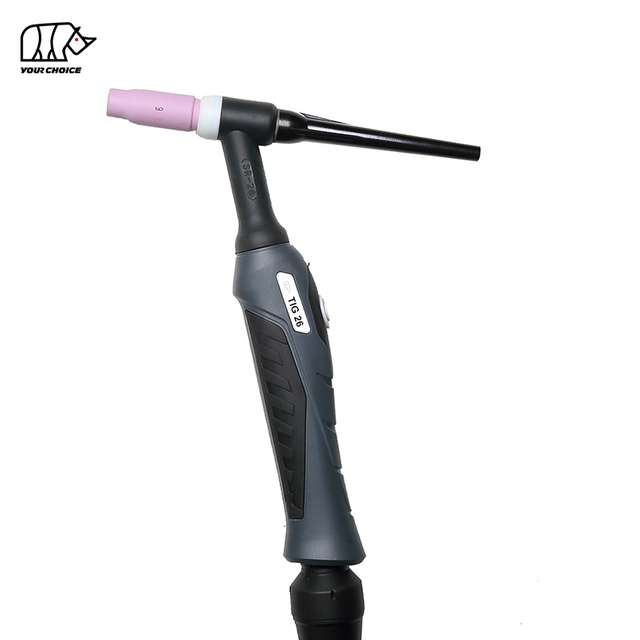
Torch and Consumable Setup
Tungsten Preparation
Grind longitudinally: Grind tungsten lengthwise (parallel to the electrode axis), not circumferentially. Transverse grinding marks cause the arc to wander and become unfocused.
Use a dedicated grinder: If possible, use a grinder reserved for tungsten to avoid contamination.
Maintain proper tip shape: For DC welding, keep a sharp taper. For AC aluminum, a slightly rounded tip works better.
Match tungsten size to amperage :
Nozzle and Collet Condition
Check cup size: Ensure the nozzle opening is large enough for your tungsten diameter and gas flow requirements.
Inspect for damage: Cracked ceramic cups or distorted collets compromise gas coverage and arc stability.
Keep cups clean: Remove spatter and debris that might disrupt gas flow.
Operator Technique
Sometimes porosity is "welded in" rather than brought in—technique matters enormously.
Arc Length Control
Keep it short: Long arcs are porosity enemies. A long arc widens the arc cone, weakens shielding, and allows air to mix with the pool.
Target range: Maintain arc length at 1.0-2.0 mm. For thin materials, keep it as tight as possible.
Rule of thumb: Arc length should not exceed 1.5 times the tungsten diameter.
Torch Angle and Position
Maintain proper angle: Keep torch angle at 70-85° from horizontal (10-20° from vertical). Excessive tilt (over 20-30°) causes the gas stream to deflect, exposing the trailing edge of the pool.
Watch the filler: The filler wire tip must remain within the gas shield at all times. If you pull it back too far, the hot tip oxidizes and introduces contamination when re-entered.
Filler Metal Technique
Feed smoothly: Add filler gently to the front edge of the puddle, not directly into the arc.
Keep filler in the shield: Never let the heated filler wire exit the shielding gas envelope.
Dip, don't plunge: Lightly dab the filler rather than plunging it deep into the pool.
Crater Management
Use current taper: Gradually reduce current over 2-3 seconds using a foot pedal or crater-fill function.
Fill the crater: Continue adding filler while current tapers to fill the depression.
Respect post-flow: After arc extinction, hold the torch in position for 5-15 seconds to protect the cooling tungsten and crater.
Material-Specific Considerations
Stainless Steel
Back purge is essential: On stainless steel, the root side must be shielded. Without back purging, oxygen and nitrogen dissolve into the backside of the weld, causing "sugaring" and internal porosity.
Control heat input: Stainless has low thermal conductivity. Excessive heat causes carbide precipitation and porosity. Use minimal current and faster travel speeds.
Consider pulsed TIG: Pulse mode helps control heat input and maintain stable arc characteristics.
Aluminum
Hydrogen is the enemy: Aluminum is extremely sensitive to hydrogen. Liquid aluminum dissolves hydrogen readily, but solid aluminum does not—trapped hydrogen forms porosity during solidification.
Remove oxide thoroughly: Aluminum oxide absorbs moisture. Use a stainless steel brush immediately before welding, and clean with acetone first.
Use AC with proper balance: AC current provides cathodic cleaning to break up oxide. Set AC balance with 20-30% electrode positive for adequate cleaning.
Consider preheat: On thick aluminum, preheat to 100-150°C helps drive off moisture and slows cooling for gas escape.
Watch small-diameter tubing: Small aluminum tubes are particularly challenging because the weld cools quickly, leaving little time for hydrogen to escape. Consider internal purging even for small diameters.
Parameter Optimization
Current and Travel Speed
Match current to thickness: For mild steel, use approximately 1 amp per 0.001" of thickness as a baseline.
Maintain steady travel: Consistent speed helps the pool release dissolved gas before freezing.
Avoid excessive heat: Overheating creates a grainy texture and increases gas absorption.
Pulse TIG Benefits
Pulsed TIG can help prevent porosity by :
Reducing average heat input while maintaining fusion
Keeping the weld pool compact and easier to control
Allowing better gas escape during the low-current phase
For thin materials, set pulse frequency at 30-100 Hz
Visual Monitoring and Quality Control
Modern tools add a layer of prevention beyond operator judgment.
Weld Cameras
Weld cameras make bead shape, arc length, and shielding behavior visible in real time. When the bead widens suddenly or the heat-affected zone expands, adjustments can be made immediately instead of after porosity has formed.
Thermal Monitoring
Thermal imaging detects overheating early, allowing intervention before porosity develops.
Post-Weld Inspection
Visual examination: Look for surface pinholes, discoloration, or irregular bead appearance
Leak testing: For critical components, pressure testing reveals porosity not visible on the surface
Sectioning: When troubleshooting, cut and polish samples to reveal subsurface voids
The Complete Porosity Prevention Checklist
Use this quick-reference checklist before and during every TIG welding job:
Before Striking the Arc
Base Material
Is the joint area clean of oil, paint, rust, and oxides?
Has the material been degreased with acetone or alcohol?
For aluminum: Has oxide been mechanically removed with a dedicated stainless brush?
Has the cleaning area been extended at least 20mm from the joint?
Filler Metal
Are filler rods stored in a clean, dry place?
Have rods been wiped with acetone before use?
Are rod ends free of oxidation or darkening?
Will filler be handled with clean gloves?
Shielding Gas
Is the gas pure argon (99.99% minimum)?
Is flow rate appropriate for nozzle size (see table)?
Have hoses and fittings been leak-tested recently?
Is there a spare bottle available to test if gas contamination is suspected?
Torch and Consumables
Is the tungsten ground longitudinally?
Is the nozzle clean and crack-free?
Are O-rings and seals in good condition?
Is the collet size correct for the tungsten diameter?
Environment
Is the work area free of drafts or fans?
If welding outdoors, are barriers in place?
Is humidity within acceptable range? (Consider preheat if high)
During Welding
Is arc length kept tight (1.0-2.0 mm)?
Is torch angle maintained at 70-85°?
Does filler wire stay within the gas shield at all times?
Is travel speed steady and appropriate for material thickness?
For stainless: Is back purge active and adequate?
For aluminum: Is AC balance set correctly (20-30% EP)?
At Weld Completion
Is current tapered down gradually?
Is the crater filled properly?
Is post-flow maintained for 5-15 seconds?
Is the tungsten protected until cool?
Conclusion
Porosity in TIG welding is preventable, but prevention requires attention to detail across multiple factors. Cleanliness is the foundation—any contamination on base metal or filler can release gas into the weld pool. Shielding gas must be pure, properly flowed, and protected from drafts. Torch technique, especially arc length and filler wire management, directly affects whether trapped gases can escape before solidification.
Material-specific challenges require tailored solutions. Stainless steel demands back purging; aluminum requires rigorous oxide removal and hydrogen control. Modern monitoring tools like weld cameras add an extra layer of quality assurance.
By working through this checklist systematically, you can identify the source of porosity when it appears—and more importantly, prevent it from occurring in the first place. The result is stronger, more reliable welds that meet both visual and performance requirements.
 English
 简体中文
简体中文 العربية
 Français
 Русский
 Español
 Português
 Deutsch
 italiano
 日本語
日本語 한국어
한국어 Nederlands
 Tiếng Việt
 ไทย
ไทย Polski
 Türkçe
 ភាសាខ្មែរ
 Bahasa Melayu
 Filipino
 Bahasa Indonesia
 magyar
 Română
 Čeština
 Монгол
 қазақ
қазақ Српски
 हिन्दी
 فارسی
فارسی Slovenčina
 Slovenščina
 Norsk
Norsk Svenska
 українська
 Ελληνικά
 Suomi
Suomi Latine
 Dansk
Dansk বাংলা
বাংলা Hrvatski
 Afrikaans
 Gaeilge
 Eesti keel
 नेपाली
 Oʻzbekcha
 latviešu
 Azərbaycan dili
 Беларуская мова
 Bosanski
 Български
 ქართული
 Lietuvių