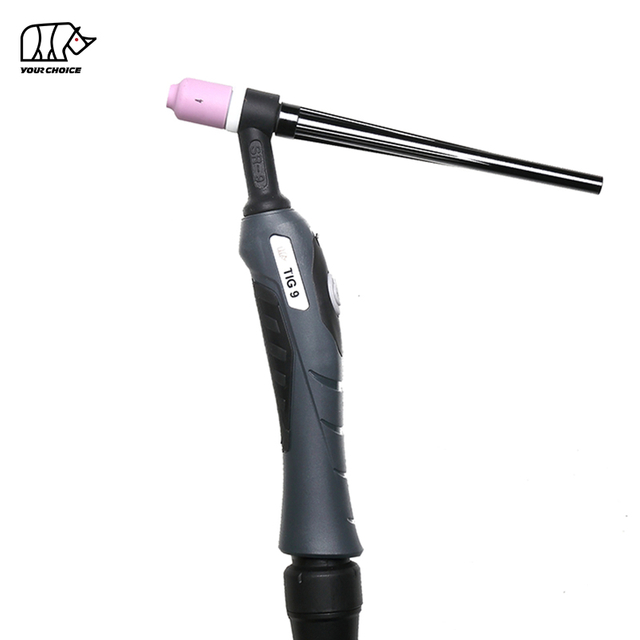
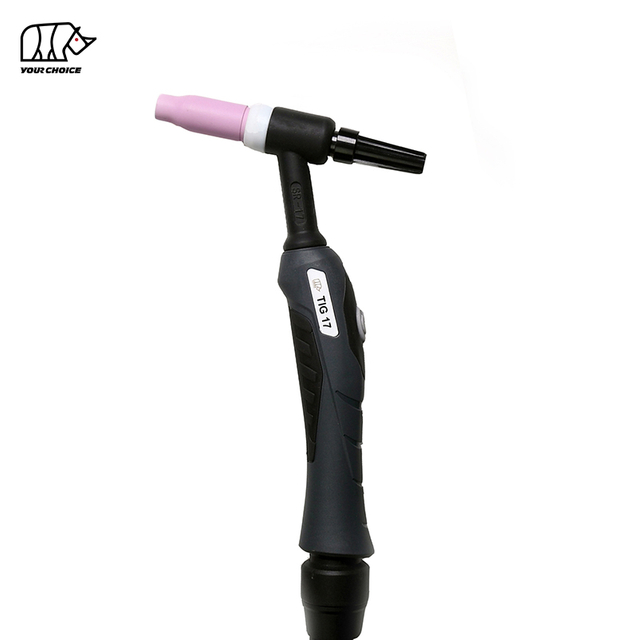
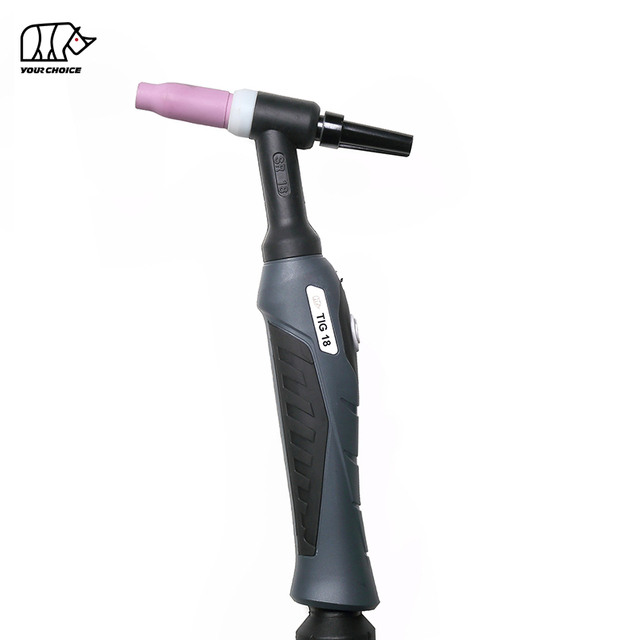
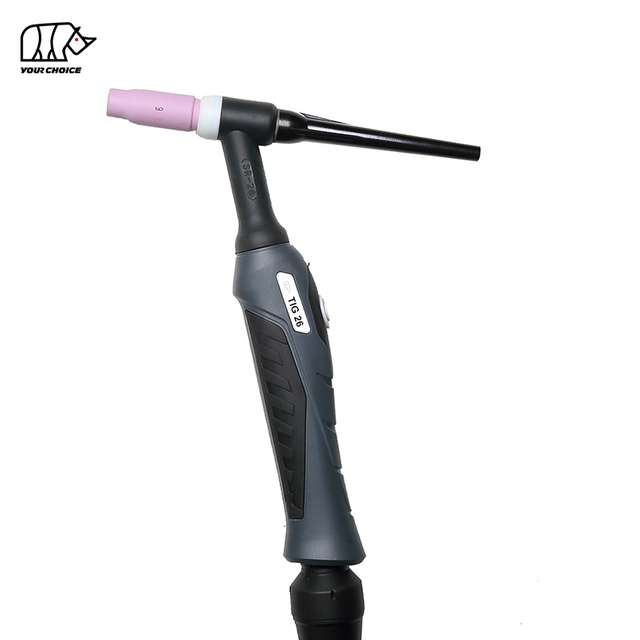
A TIG torch is built for precision. It holds the tungsten electrode, delivers the welding current, and surrounds the weld with shielding gas so you can produce clean, controlled welds on everything from thin sheet to thick plate. But a TIG torch only performs as well as its setup, tungsten preparation, and gas coverage allow. This guide explains how to assemble a TIG torch, choose and grind the right tungsten, and solve the problems welders search for most.
How a TIG Torch Works
A TIG torch uses a non-consumable tungsten electrode to create the arc, while shielding gas — almost always argon — flows through the gas cup to protect the tungsten and weld pool from the air. Filler metal is added separately by hand. Because the tungsten and gas shield do all the work, the condition of your consumables and the quality of your gas coverage directly control weld quality.
How to Set Up a TIG Torch
Assembling a TIG torch correctly takes only a few parts, but each must be seated properly:
Insert the collet into the torch head.
Install the collet body, which holds the collet and directs gas flow.
Add the tungsten electrode, leaving about 1/8 to 1/4 inch exposed beyond the cup — generally no more than the cup diameter.
Screw on the gas cup (ceramic shroud) that channels the shielding gas.
Fit the back cap to secure the tungsten and seal the torch.
Hand-tighten each connection firmly. Loose collets, collet bodies, or caps cause gas leaks and resistance heating.
Choosing the Right Tungsten
Match the tungsten diameter to your amperage and material thickness:
1/16 in (1.6 mm): roughly 20–90 A
3/32 in (2.4 mm): about 60–150 A
1/8 in (3.2 mm): around 130–250 A
For tungsten type, 2% lanthanated is a versatile all-around choice for both AC and DC on most metals, while 2% ceriated works well at low amperage on thin material. Many welders prefer these as non-radioactive alternatives to thoriated tungsten.
How to Grind Tungsten Correctly
Grind the tungsten to a taper length of about 2 to 2.5 times the electrode diameter, which usually falls in the 20–35° point range. A sharper point gives easier arc starts and a tighter arc for thin metal; a blunter point handles higher amperage and lasts longer. Always grind lengthwise so the scratches run parallel to the electrode — angled or spiral scratches cause an unstable, wandering arc. Use a dedicated grinding wheel to avoid contamination.
Common TIG Torch Problems and How to Fix Them
Tungsten Contamination
Black, dirty welds and an erratic arc are signs of a contaminated tungsten. It usually happens when the electrode touches the weld pool or filler rod, when gas coverage is poor, or when amperage is too low. Maintain a short, steady arc, verify your gas flow, and re-grind the tungsten on a clean wheel.
TIG Torch Overheating
A TIG torch overheats when it is run beyond its amperage or duty-cycle rating, has loose consumable connections, or lacks adequate cooling. Tighten all connections, stay within the rated amperage, and switch to a water-cooled torch for demanding work.
Black or Discolored Welds
A black or heavily oxidized weld means poor gas shielding — caused by low gas flow, a leak, too long an arc, insufficient post-flow, or drafts. Check torch connections for leaks, increase gas and post-flow, shorten the arc, and shield the area from wind.
Shielding Gas and Flow Rate
TIG welding uses 100% argon for most steels and aluminum, typically flowing at 15–25 CFH. Too little gas causes contamination and porosity; too much creates turbulence that pulls in air. Use adequate pre-flow and post-flow to protect the tungsten as it cools, and increase flow slightly in drafty conditions.
Air-Cooled vs. Water-Cooled TIG Torches
Choose an air-cooled TIG torch for light to medium work, typically up to about 150–200 A and intermittent welding. Choose a water-cooled torch for high-amperage (200 A and up), long-duration, or production welding where an air-cooled torch would overheat. Water-cooled torches run cooler and feel lighter in the hand but require a coolant system.
Final Thoughts
A TIG torch rewards careful setup and clean technique. By matching the tungsten to your amperage, grinding it lengthwise to the right angle, sealing every connection, and maintaining proper argon coverage, you eliminate the root causes of contamination, overheating, and discolored welds. Treat your TIG torch as the precision instrument it is, and it will deliver the clean, controlled welds that define quality TIG work.
This website uses cookies and similar technologies (“cookies”). Subject to your consent, will use analytical cookies to track which content interests you, and marketing cookies to display interest-based advertising. We use third-party providers for these measures, who may also use the data for their own purposes.
You give your consent by clicking "Accept all" or by applying your individual settings. Your data may then also be processed in third countries outside the EU, such as the US, which do not have a corresponding level of data protection and where, in particular, access by local authorities may not be effectively prevented. You can revoke your consent with immediate effect at any time. If you click on "Reject all", only strictly necessary cookies will be used.
 English
 简体中文
简体中文 العربية
 Français
 Русский
 Español
 Português
 Deutsch
 italiano
 日本語
日本語 한국어
한국어 Nederlands
 Tiếng Việt
 ไทย
ไทย Polski
 Türkçe
 ភាសាខ្មែរ
 Bahasa Melayu
 Filipino
 Bahasa Indonesia
 magyar
 Română
 Čeština
 Монгол
 қазақ
қазақ Српски
 हिन्दी
 فارسی
فارسی Slovenčina
 Slovenščina
 Norsk
Norsk Svenska
 українська
 Ελληνικά
 Suomi
Suomi Latine
 Dansk
Dansk বাংলা
বাংলা Hrvatski
 Afrikaans
 Gaeilge
 Eesti keel
 नेपाली
 Oʻzbekcha
 latviešu
 Azərbaycan dili
 Беларуская мова
 Bosanski
 Български
 ქართული
 Lietuvių