If your MIG torch is throwing molten metal droplets across the workpiece every time you strike an arc, you are not alone. Excessive spatter is one of the most frequently reported complaints among fabricators, from first-year apprentices to experienced production welders. Beyond the obvious cosmetic damage — those tiny, fused balls of metal that require grinding or chiseling — excessive spatter also signals an underlying arc instability problem that can compromise weld integrity and dramatically increase consumable costs.
This guide breaks down every root cause of excessive MIG torch spatter, explains the physics behind each one, and gives you clear, actionable steps to eliminate it. Whether you are running short-circuit transfer on thin sheet metal or spray transfer on structural plate, the principles covered here apply across the board.
What Is Weld Spatter and Why Does It Matter?
Spatter consists of molten metal globules expelled from the weld pool or wire tip during the welding process. In MIG (Metal Inert Gas / GMAW) welding, the wire electrode is continuously fed into the arc, and if any variable disrupts the smooth, controlled transfer of molten metal from wire to puddle, those globules are flung outward.
Why it matters:
Post-weld cleanup cost: Grinding and chiseling spatter adds non-productive labor time that directly inflates per-part cost.
Surface quality: In industries such as automotive, food processing equipment, and structural fabrication, excessive spatter on finished surfaces is an outright reject criterion.
Arc instability indicator: Spatter is a symptom. A torch that consistently spatters heavily is telling you that something — parameters, consumables, or technique — is wrong.
Consumable waste: Every gram of spatter is wire that was purchased but did not become a weld bead.
The 9 Most Common Causes of Excessive MIG Torch Spatter
1. Incorrect Voltage-to-Wire-Feed-Speed Ratio
This is the single most common cause of excessive MIG spatter.
In MIG welding, voltage controls arc length and wire feed speed (WFS) controls deposition rate. The two must be balanced precisely for the metal transfer mode you are targeting. When the ratio is off:
Voltage too high relative to WFS: The arc becomes excessively long, causing the wire to melt in large globules before bridging the puddle. Those globules detach violently and scatter as spatter.
Voltage too low relative to WFS: The wire stubbing into the puddle causes short-circuit blasts that expel molten metal in every direction (a classic "crackling" sound).
Fix: Start with the manufacturer's recommended synergic chart for your wire diameter and base metal thickness. Then fine-tune: increase voltage in 0.5 V increments if the arc sounds harsh and crackling; decrease if you hear popping. A smooth "frying egg" or "bacon sizzle" sound indicates a balanced arc.
2. Wrong Shielding Gas or Incorrect Flow Rate
Shielding gas composition profoundly affects arc behavior, metal transfer, and spatter generation.
Pure CO₂ (100% CO₂): Produces the most spatter of any shielding gas because the higher ionization potential creates a more turbulent arc. It is low cost but results in significantly more cleanup time.
Argon/CO₂ blends (75% Ar / 25% CO₂ or 80/20): The gold-standard mix for mild steel MIG. The argon stabilizes the arc and reduces spatter dramatically compared to pure CO₂.
Flow rate too low (under 15 CFH / 7 L/min): Inadequate shielding allows atmospheric oxygen and nitrogen to contaminate the weld pool, causing porosity and violent arc behavior.
Flow rate too high (over 35 CFH / 17 L/min): Turbulent gas flow can actually draw in surrounding air, creating contamination and spatter.
Fix: For mild steel, use 75/25 Ar/CO₂ at 20–25 CFH (9–12 L/min) as a baseline. For stainless steel, switch to tri-mix or 98% Ar / 2% CO₂. Check for gas leaks at the regulator, hose, and torch connection; even a minor leak drops effective coverage.
3. Contaminated or Poorly Prepared Base Metal
Welding over rust, mill scale, paint, galvanizing, oil, or moisture is a guaranteed recipe for excessive spatter. When the arc encounters contaminants:
Oils vaporize and disrupt the shielding gas envelope.
Rust introduces iron oxide, which reacts violently with the molten pool.
Zinc from galvanized coatings produces smoke and explosive outgassing.
Moisture flashes to steam, creating pores and spattering droplets.
Fix: Grind, wire-brush, or sand the weld zone and a 2–3 inch border around it. Remove all mill scale from the weld path on the joint face. Degrease with acetone or a dedicated metal cleaner. For galvanized material, either remove the coating mechanically or accept the need for additional fume control and cleanup.
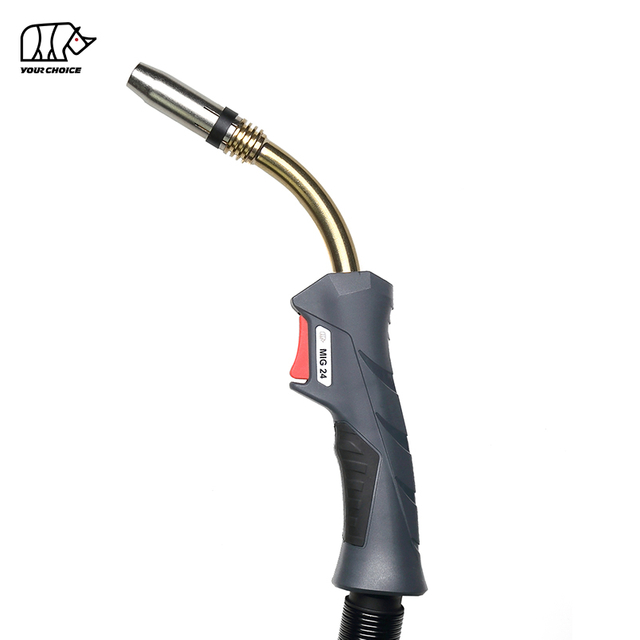
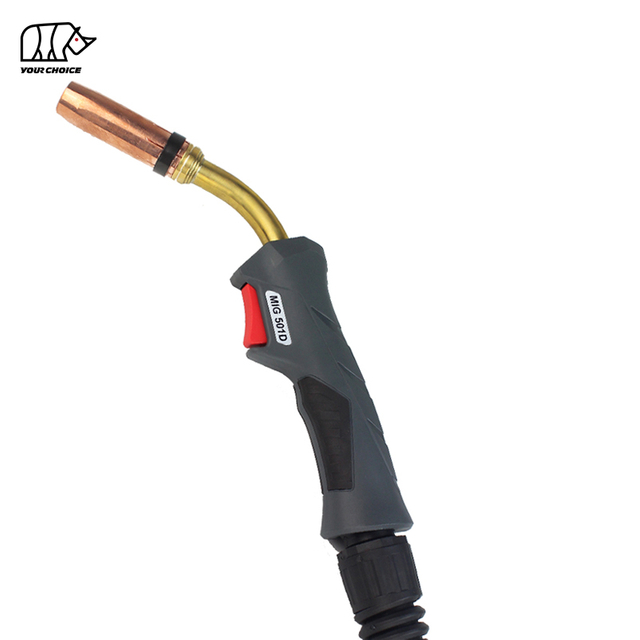
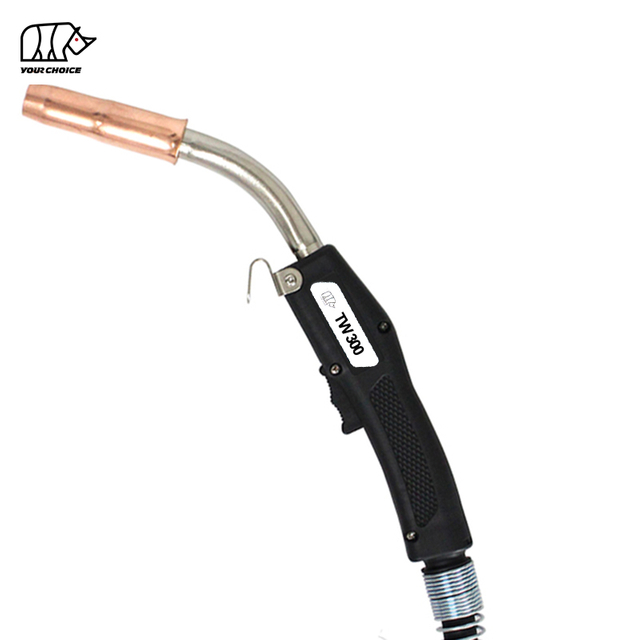
4. Worn or Incorrect Contact Tip
The contact tip is the last point of electrical contact between the welder and the wire. A worn, corroded, or oversized tip degrades current transfer, creates arc instability, and directly produces spatter.
Signs of a failing contact tip:
The bore has become oval or "keyholed" from wire wear.
Spatter has built up inside the tip, restricting wire travel.
The tip is the wrong size for the wire diameter (e.g., using a 0.035 in tip with 0.030 in wire — the oversized bore lets the wire wander).
Fix: Replace contact tips at the first sign of oval wear or bore enlargement. Match tip bore diameter precisely to your wire size (a slight interference fit — e.g., 0.9 mm tip for 0.9 mm wire — promotes consistent electrical contact). Keep a small stock of tips on hand; they are a consumable, not a permanent fixture.
Wire stick-out — the distance from the contact tip to the arc — is one of the most overlooked spatter triggers.
Too long (over 25 mm / 1 inch for most GMAW applications): Electrical resistance in the extended wire preheats it before it enters the arc. This preheating reduces deposition efficiency and causes the wire to melt erratically, producing globular transfer and heavy spatter even at seemingly correct settings.
Too short (under 6 mm / ¼ inch): The nozzle overheats, the tip is close to spatter, and the shortened arc can cause burnback.
Fix: Maintain 10–15 mm (⅜–⅝ inch) stick-out for short-circuit transfer on thin material. For spray transfer on thicker plate, 15–20 mm is appropriate. Use your non-dominant hand or a consistent gun rest technique to hold stick-out steady throughout the pass.
6. Incorrect Torch Angle
MIG torch travel angle and work angle both influence arc stability and shielding gas coverage:
Push (forehand) angle over 15°: The gas pre-heats the metal ahead of the puddle — minimal spatter, but shallow penetration and potentially wider, flatter bead.
Drag (backhand) angle over 15°: Excessive drag angle elongates the arc and reduces puddle shielding, increasing spatter.
Work angle off-center: Especially on fillet welds, pointing the torch too far toward one plate directs arc force unevenly, disrupting the puddle and flinging spatter.
Fix: For most MIG applications, use a slight drag angle of 5–15° for better penetration and good shielding. Keep the work angle at 45° for T-joints and 90° perpendicular for butt joints. Avoid extreme angles — when in doubt, go nearly perpendicular.
7. Low-Quality or Mismatched Welding Wire
Wire quality has an enormous influence on arc stability:
Surface condition: Copper-coated wire with flaking or oxidized coating transfers current inconsistently and leaves residue in the contact tip.
Wire diameter mismatch: Using wire that is too heavy for the material thickness requires higher heat input, often forcing you into a transfer mode with more spatter (e.g., using 1.2 mm wire on 2 mm sheet).
Incorrect wire chemistry: Using a wire alloy that does not match your base metal produces poor metallurgical fusion and arc turbulence.
Fix: Store wire in sealed packaging or dedicated dry storage — moisture absorption degrades the surface. Select wire diameter appropriate to your thickness range (0.8 mm for under 3 mm, 0.9–1.0 mm for 3–6 mm, 1.2 mm for 6 mm and above as general guidance). Verify that wire classification matches your base metal chemistry.
8. Incorrect Inductance Setting
Many modern inverter-based MIG welders include an inductance (also labeled "arc control," "arc force," or "soft/hard arc") adjustment. Inductance controls how rapidly current rises during a short circuit:
High inductance (soft arc): Current rises slowly, giving the puddle time to reflow before the short clears. Results in a softer, wetter puddle with less spatter — ideal for thin material and short-circuit transfer.
Low inductance (hard arc): Current spikes rapidly when the wire shorts, increasing penetration but also producing more violent short-circuit clearing and more spatter.
Fix: If your machine has an inductance control, start at mid-range and increase (soften) the arc when excessive spatter is present in short-circuit mode. Reduce inductance when you need crisper, deeper penetration on thicker material.
9. Wrong Polarity
MIG welding is designed to run on DCEP (Direct Current Electrode Positive — the torch is connected to the positive terminal). This polarity provides:
Stable arc with smooth metal transfer
Good penetration profile
Minimum spatter
Running on DCEN (electrode negative) or AC will destabilize the arc significantly and dramatically increase spatter. This sometimes happens after a welder is reconfigured for flux-core wire (which runs DCEN with most self-shielded wires) and then switched back to solid wire without reversing polarity.
Fix: Open the wire compartment and check the polarity label on the terminal connections. For solid MIG wire with shielding gas, confirm you are on DCEP. For self-shielded flux-core wire, confirm DCEN (unless the wire manufacturer's data sheet specifies otherwise).
Quick-Reference Diagnostic Table
Symptom
Most Likely Cause
First Action
Heavy spatter, "crackling" sound
Voltage too low / WFS too high
Increase voltage 0.5 V at a time
Heavy spatter, "popping" sound
Voltage too high / WFS too low
Decrease voltage 0.5 V at a time
Spatter only at arc start
Stick-out too long at start
Hold torch closer at initiation
Spatter + porosity
Gas contamination / flow issue
Check hose, regulator, and flow rate
Spatter + brown/black smoke
Contaminated base metal
Clean and degrease weld area
Spatter + wire burnback
Contact tip worn / WFS too slow
Replace tip; increase WFS slightly
Spatter worse with same settings on different machine
Polarity or inductance mismatch
Verify DCEP; check inductance setting
Spatter on one side of joint only
Incorrect work angle
Adjust to 45° on T-joint
How to Systematically Eliminate MIG Spatter: A Step-by-Step Approach
Rather than randomly adjusting one variable at a time, use this structured diagnostic sequence:
Step 1 — Verify polarity. Before touching any parameter, confirm DCEP for solid wire.
Step 2 — Clean the base metal. Grind, brush, and degrease. Eliminate contamination as a variable.
Step 3 — Inspect and replace consumables. Install a new contact tip. Clean or replace the gas nozzle. Ensure wire is not oxidized.
Step 4 — Set baseline parameters. Use the wire/gas manufacturer's recommended starting point for your wire diameter and material thickness.
Step 5 — Check shielding gas. Verify correct mix, 20–25 CFH flow rate, and no leaks.
Step 6 — Set stick-out. Practice maintaining 10–15 mm consistently.
Step 7 — Fine-tune voltage and WFS. Make small incremental adjustments (0.5 V at a time) while running test beads on scrap. Listen for the smooth sizzle of a stable arc.
Step 8 — Adjust inductance. If spatter persists on thin material, increase inductance (soften arc). If penetration is shallow on thicker material, decrease inductance.
Step 9 — Optimize torch angle. Use a 5–15° drag angle with the correct work angle for your joint geometry.
The Role of Transfer Mode in Spatter Generation
Understanding which metal transfer mode you are operating in is fundamental to spatter control:
Transfer Mode
Typical Voltage
Spatter Level
Best Application
Short-circuit (dip)
14–22 V
Moderate–high
Thin gauge, root passes
Globular
22–26 V
High (avoid)
Transitional — not a target mode
Spray
26–40 V
Very low
Thick plate, flat/horizontal
Pulsed spray
Controlled
Very low
All positions, thin to thick
Key insight: Globular transfer is the enemy. When your parameters land you in this transitional zone between short-circuit and spray, you will experience maximum spatter. The fix is to either reduce parameters to re-enter short-circuit or increase them to establish true spray transfer (which requires at least 85% Ar shielding gas).
Preventive Maintenance to Keep Spatter Minimal
Long-term spatter control depends on consistent torch maintenance:
Clean the gas nozzle every 15–30 minutes of arc time. Spatter accumulation inside the nozzle disrupts gas flow and accelerates further spatter. A nozzle reamer tool makes this quick.
Apply anti-spatter compound to the nozzle interior. This prevents adhesion and makes cleanup nearly instantaneous. Do not apply it inside the weld joint.
Replace contact tips proactively. Do not wait for a burnback. For production welding, track arc-on hours and establish a replacement interval.
Inspect the liner regularly. A kinked or clogged liner causes wire feedability issues that translate directly into arc instability and spatter. Blow out the liner with compressed air periodically.
Check gas connections at every setup. A loose fitting at the regulator, gas solenoid, or torch body is enough to drop shielding below effective levels.
Frequently Asked Questions
Q1: Is some amount of MIG spatter normal? A small amount of spatter is inherent to short-circuit transfer MIG welding and is considered acceptable in most industrial standards. However, if you are grinding significant amounts after every pass, parameters, consumables, or technique need adjustment. Spray and pulsed-spray transfer modes can achieve near-zero spatter on appropriate material thicknesses.
Q2: Does anti-spatter spray actually reduce spatter? Anti-spatter products do not prevent spatter from forming — they prevent it from adhering to the nozzle, gas cup, and surrounding base metal. This makes post-weld cleanup faster but does not address the root cause. Use anti-spatter spray as a maintenance aid, not as a substitute for correct parameters.
Q3: Why is my MIG torch producing more spatter on stainless steel than on mild steel? Stainless steel requires a different shielding gas (typically 98% Ar / 2% CO₂ or a tri-mix) and lower heat input to avoid carbide precipitation. Using a mild steel gas blend (75/25) on stainless forces the arc into an unfavorable mode that increases spatter and can compromise corrosion resistance. Verify your gas, reduce wire feed slightly, and ensure your contact tip is not contaminated from mild steel use.
Q4: Can a faulty wire feeder cause excessive spatter? Yes. Inconsistent wire feed speed — caused by worn drive rolls, mismatched groove size, incorrect drive roll tension, or a kinked/worn liner — creates fluctuations in arc length that appear as spatter. Check drive roll tension (the wire should not slip under light thumb pressure) and inspect the liner for kinks, especially near the torch neck.
Q5: What voltage and wire feed speed should I use to minimize spatter on 3 mm mild steel? As a starting point with 0.9 mm ER70S-6 wire and 75/25 Ar/CO₂: approximately 18–20 V and 5.0–6.0 m/min (200–240 IPM) in short-circuit transfer. These are baseline values — always run test beads and tune to the smooth sizzle sound before welding production parts.
Q6: Does the length of my MIG cable affect spatter? Extremely long torch cables (beyond what is rated for your machine) can introduce voltage drop, which effectively lowers arc voltage at the torch even though the machine reads a higher value. This voltage loss forces the arc into a lower-energy transfer mode, increasing spatter. Use cables rated for your machine's amperage and keep lengths within the manufacturer's specification.
Q7: Can I reduce spatter by switching to flux-core wire? Gas-shielded flux-core wire (FCAW-G) typically produces more spatter than solid wire with the correct gas blend, but it offers better penetration on mill-scaled or lightly contaminated metal. Self-shielded flux-core (FCAW-S) produces even more spatter but eliminates the need for gas cylinders. If spatter is the primary concern, solid wire with 75/25 Ar/CO₂ in short-circuit or spray transfer is the lowest-spatter option for most applications.
Conclusion
Excessive spatter from a MIG torch is almost always a solvable problem. The vast majority of cases trace back to one or more of nine root causes: incorrect voltage-to-wire-feed-speed ratio, wrong or insufficient shielding gas, contaminated base metal, worn or mismatched contact tips, excessive stick-out, poor torch angle, low-quality wire, incorrect inductance settings, or wrong polarity. By working through the systematic diagnostic approach outlined in this guide — verifying polarity and cleanliness first, checking consumables, then fine-tuning parameters — you can eliminate excessive spatter, improve weld quality, and significantly reduce post-weld cleanup time.
Clean welds start with an understanding of why spatter happens. Once you know the cause, the fix is straightforward.
This website uses cookies and similar technologies (“cookies”). Subject to your consent, will use analytical cookies to track which content interests you, and marketing cookies to display interest-based advertising. We use third-party providers for these measures, who may also use the data for their own purposes.
You give your consent by clicking "Accept all" or by applying your individual settings. Your data may then also be processed in third countries outside the EU, such as the US, which do not have a corresponding level of data protection and where, in particular, access by local authorities may not be effectively prevented. You can revoke your consent with immediate effect at any time. If you click on "Reject all", only strictly necessary cookies will be used.
 English
 简体中文
简体中文 العربية
 Français
 Русский
 Español
 Português
 Deutsch
 italiano
 日本語
日本語 한국어
한국어 Nederlands
 Tiếng Việt
 ไทย
ไทย Polski
 Türkçe
 ភាសាខ្មែរ
 Bahasa Melayu
 Filipino
 Bahasa Indonesia
 magyar
 Română
 Čeština
 Монгол
 қазақ
қазақ Српски
 हिन्दी
 فارسی
فارسی Slovenčina
 Slovenščina
 Norsk
Norsk Svenska
 українська
 Ελληνικά
 Suomi
Suomi Latine
 Dansk
Dansk বাংলা
বাংলা Hrvatski
 Afrikaans
 Gaeilge
 Eesti keel
 नेपाली
 Oʻzbekcha
 latviešu
 Azərbaycan dili
 Беларуская мова
 Bosanski
 Български
 ქართული
 Lietuvių